Having decided to dig up the original concrete floor to super insulate beneath it, we took advantage of the opportunity to install wet under floor heating. As this runs at a much lower temperature than radiators it means we can make more use of the solar thermal (hot water) system during sunny but cool days in the spring and autumn.
To benefit from the thermal mass in the concrete, we decided to lay the under floor heating pipes in the floor slab rather than in a separate screed. See how we did it below …
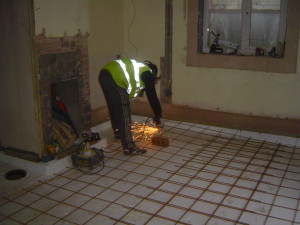
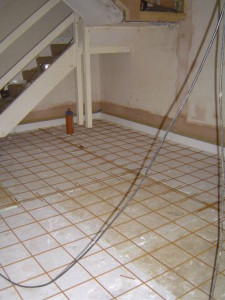
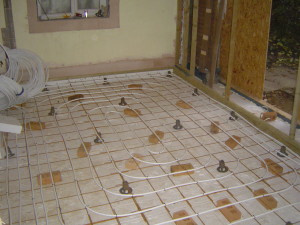
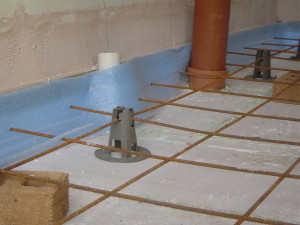
With the insulation in place we laid out the steel reinforcing mesh.
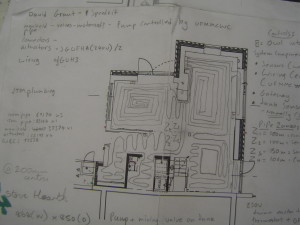
We worked out a layout design for the pipes according to the shape of the room/area.
With a square or rectangular space the preferred option is a spiral emanating from the centre of the room. In this way you get a flow and return pipe next to each other creating a more even heat distribution across the floor. Where a spiral is not possible there may be a risk of one side of the room being warmer than the other as the temperature of the water cools in the pipe.
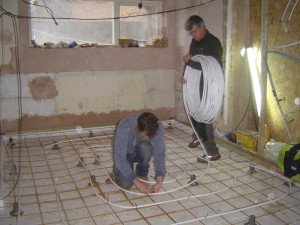
We fixed the John Guest Speedfit under floor heating pipe to the reinforcing steel mesh with cable ties. The pipe came from Screwfix although we realised afterwards that we would have got a much better deal if we had bought it from John Nichols in Kidlington. It has a barrier in the pipe which prevents oxygen getting into the system thereby reducing the risk of corrosion.
Around the perimeter we fitted a foam band to allow for expansion of the floor slab.
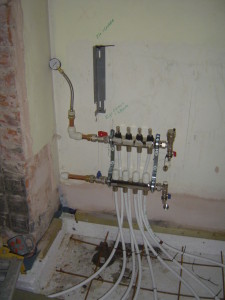
The ends of the pipes were fastened to a manifold fixed to the wall. Later on the manifold will be connected to the thermal store (hot water cylinder).
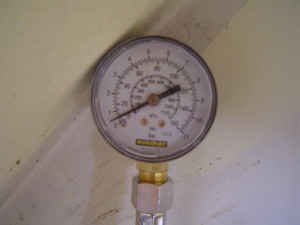
As the new floor slab was poured we monitored the pressure guage just in case it dropped significantly suggesting a leak. It did drop quite low and we monitored for any damp patches. Over the next few days we were relieved to find the pressure going back up.
