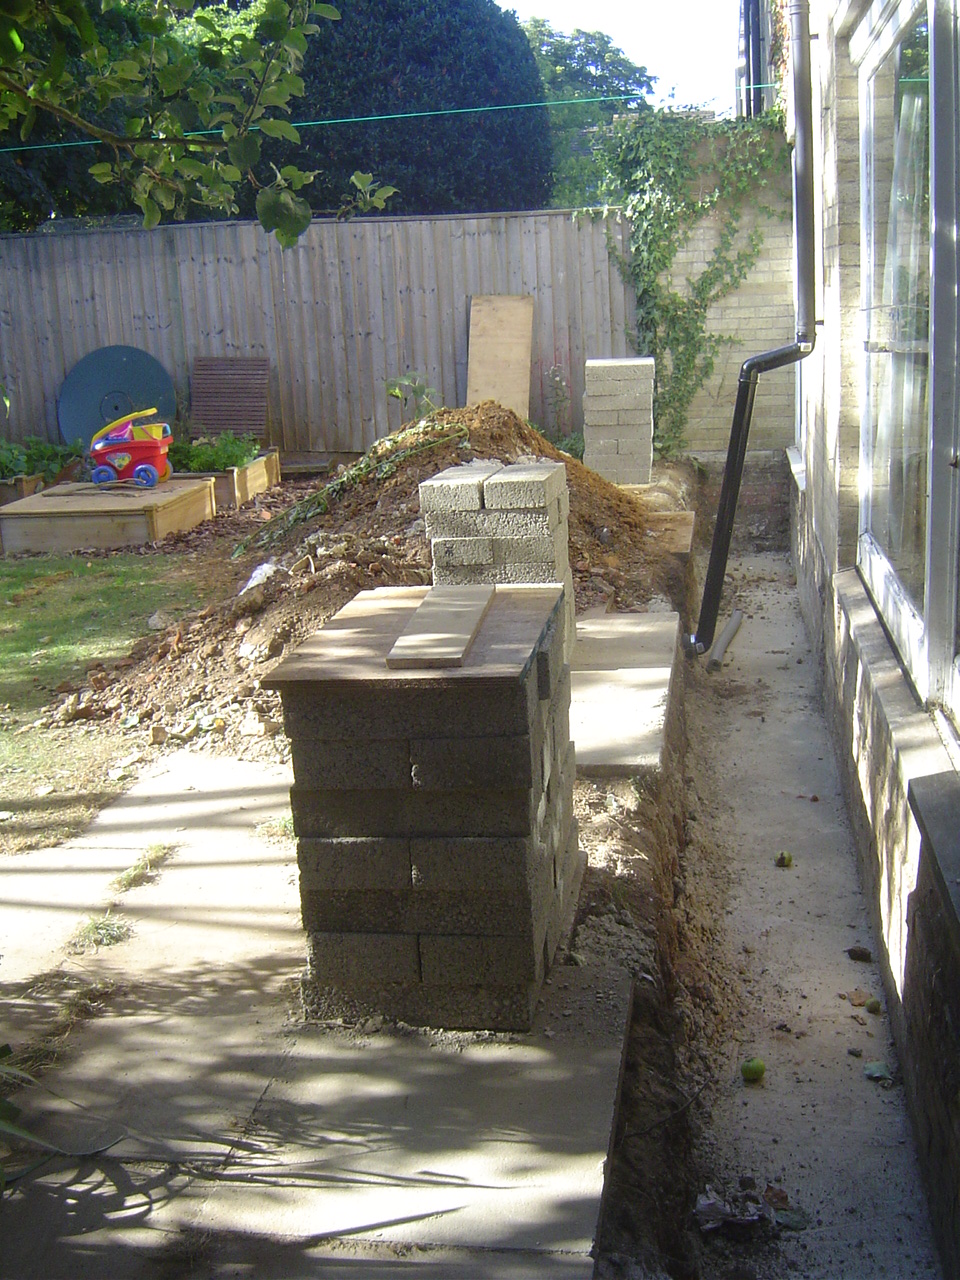
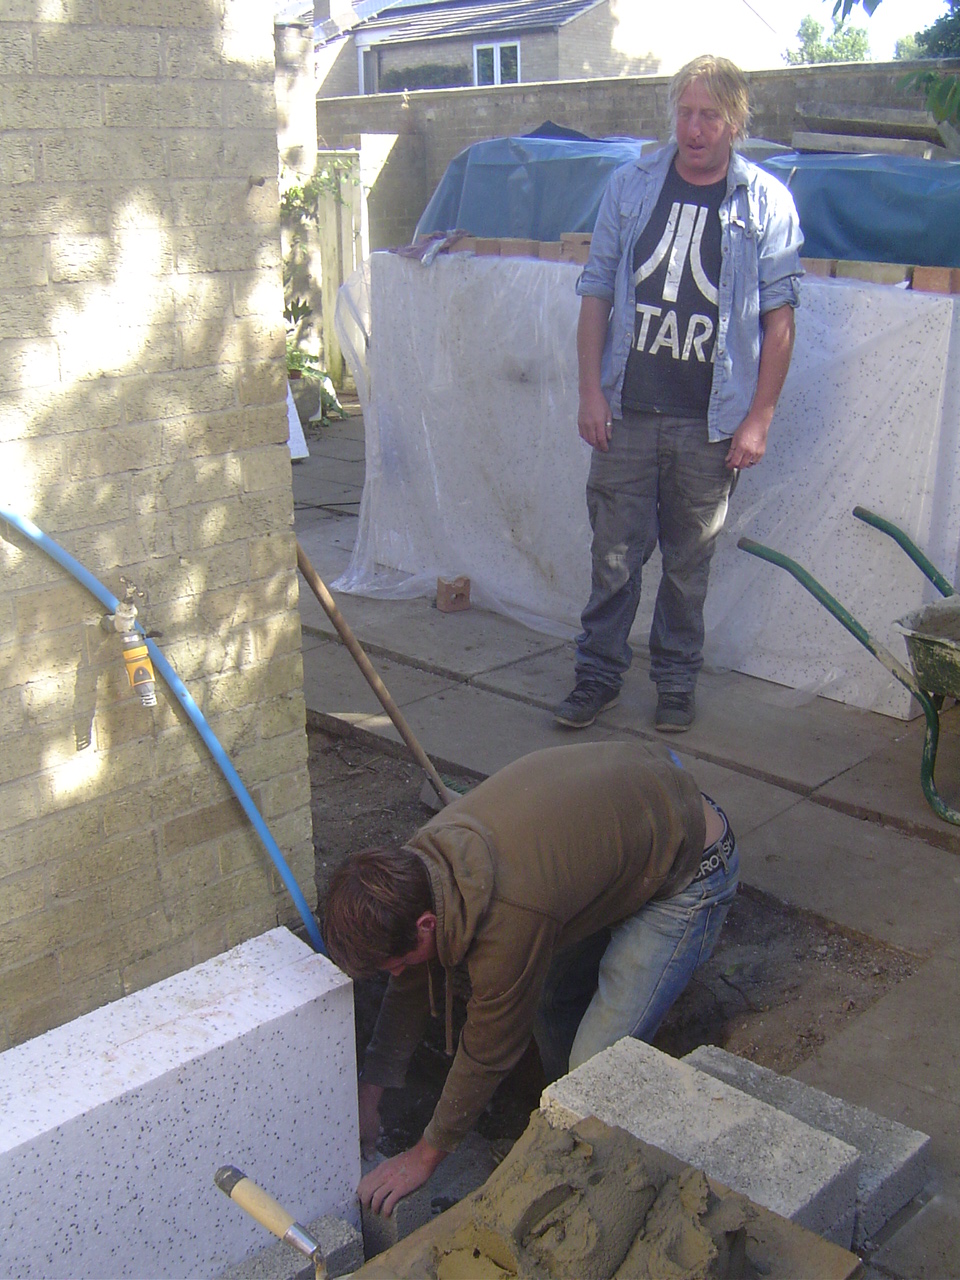
With the foundations laid the next step was blockwork and insulation below ground level.
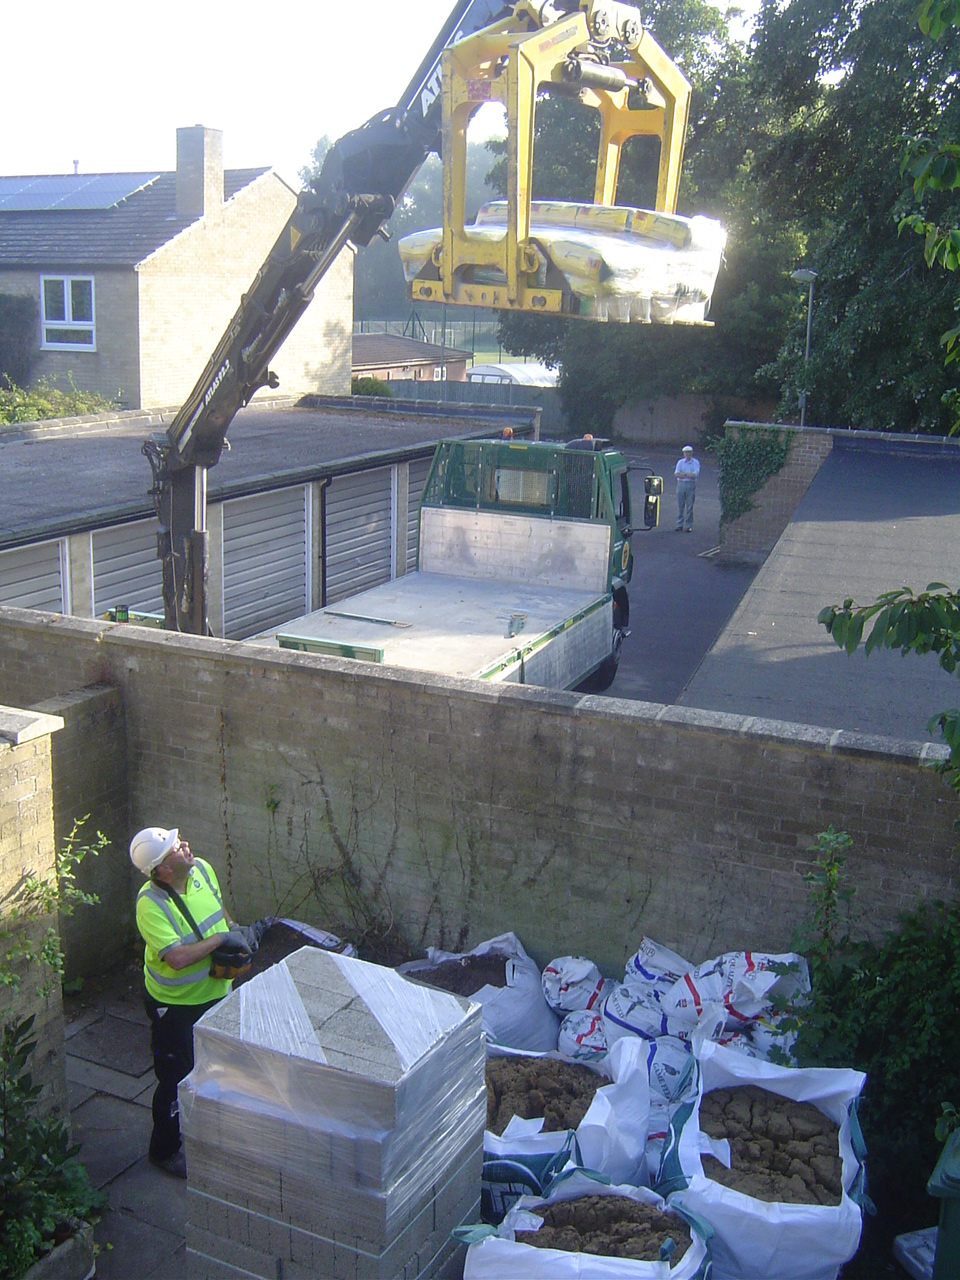
The first of many deliveries from Travis Perkins. This time sand, cement and dense concrete blocks.
The blocks were stacked up around the site ready for laying.
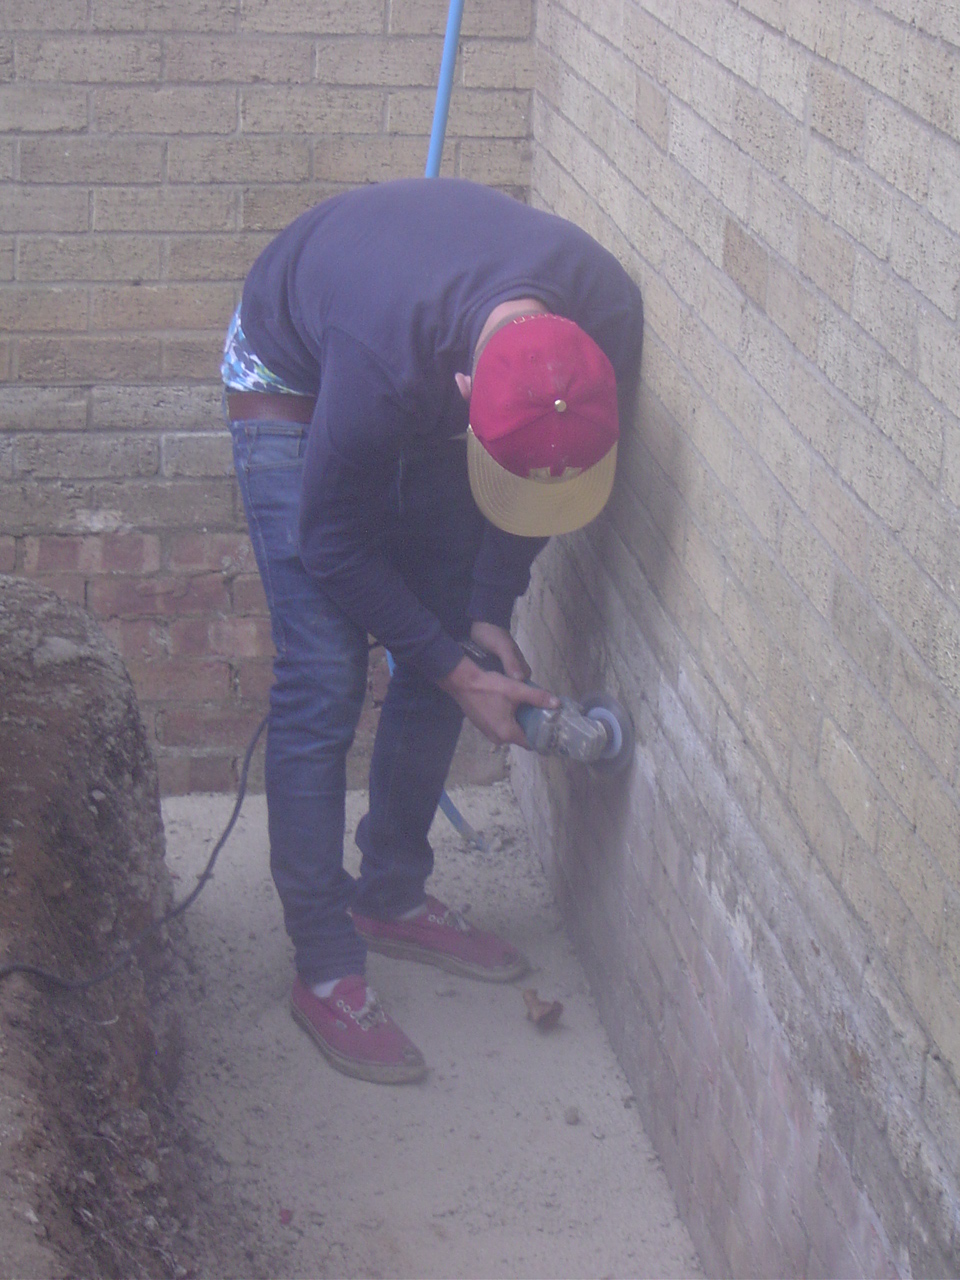
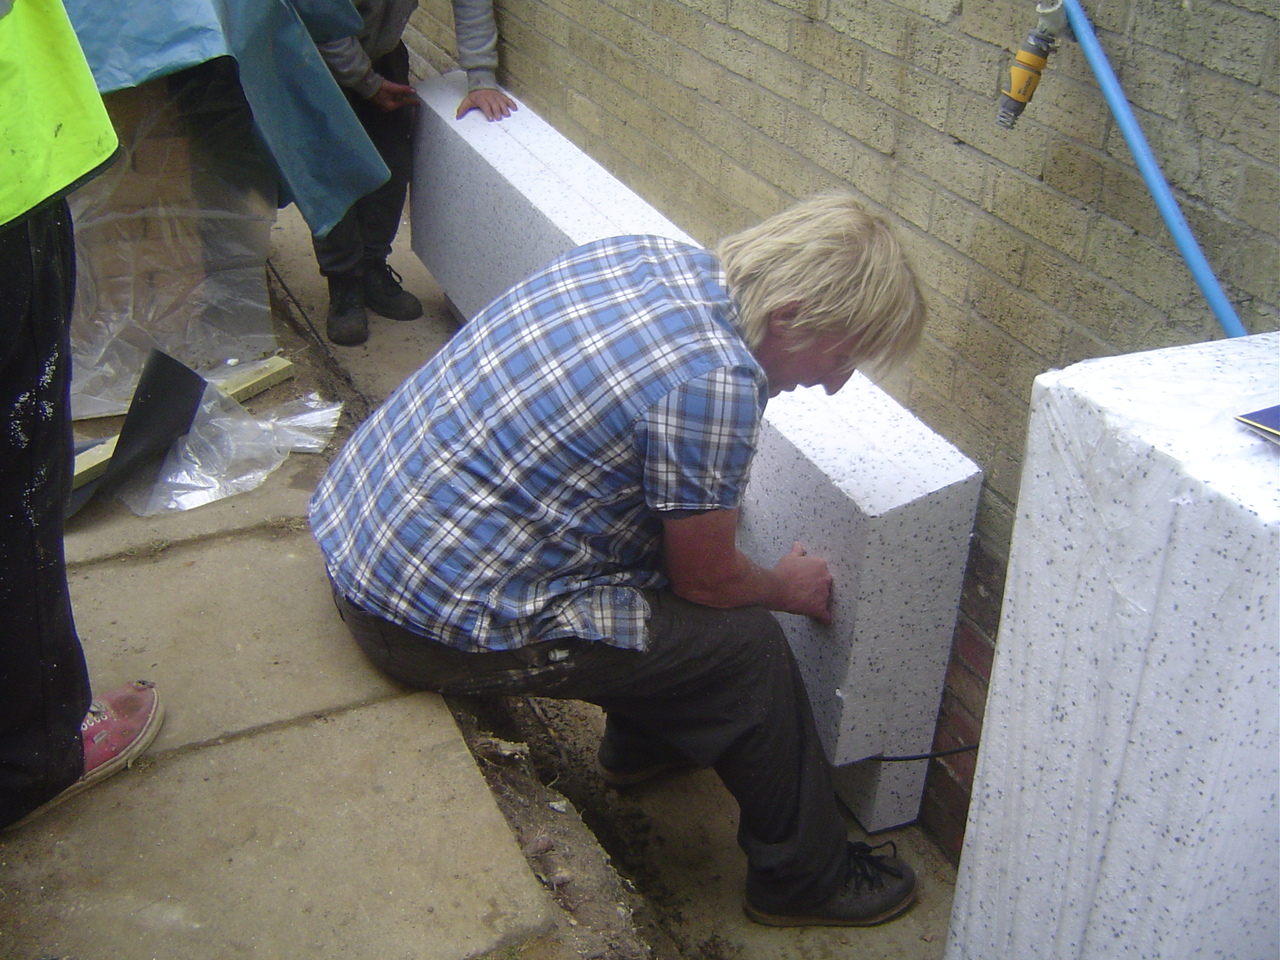
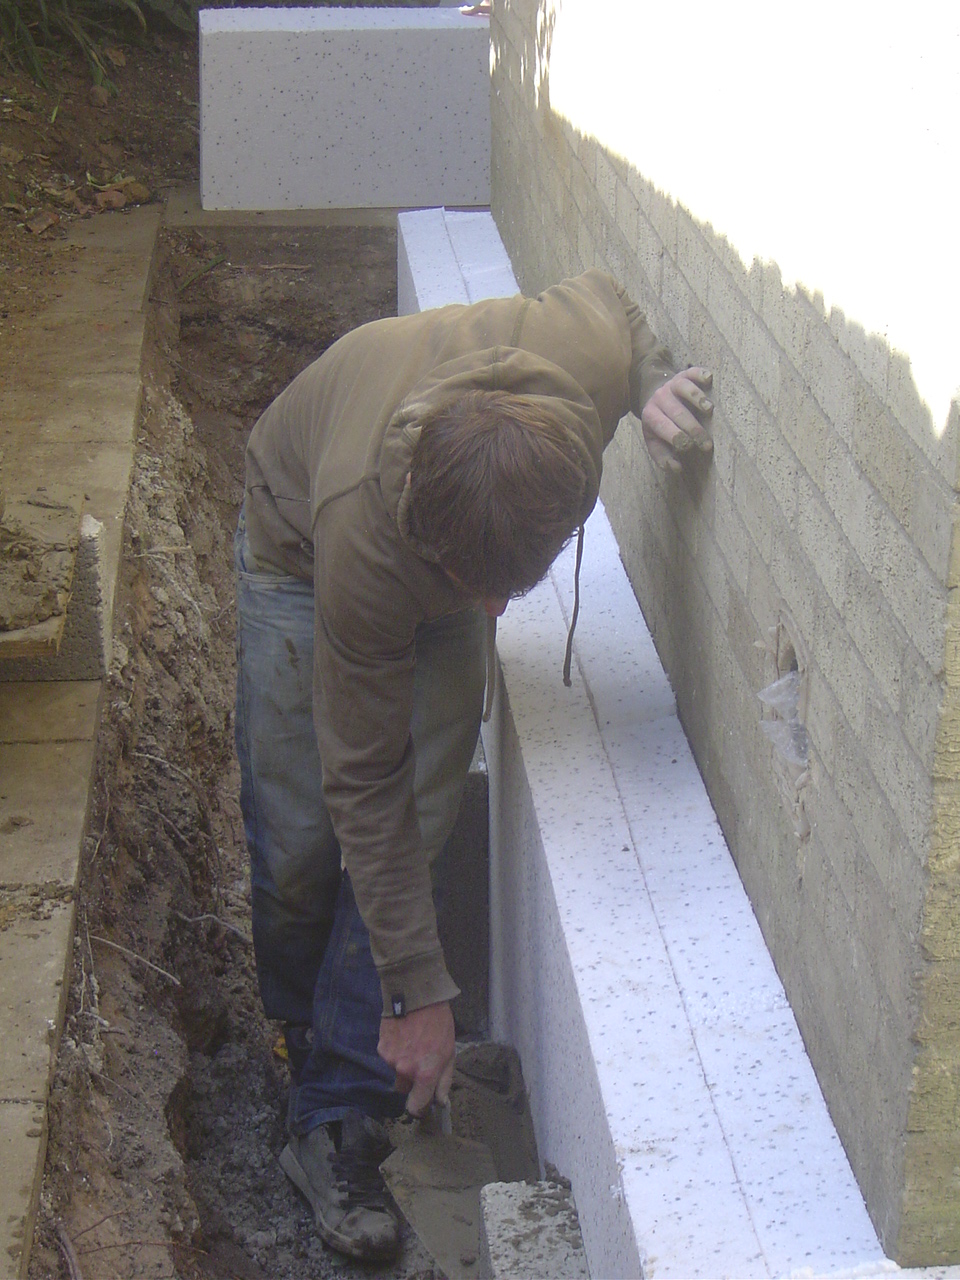
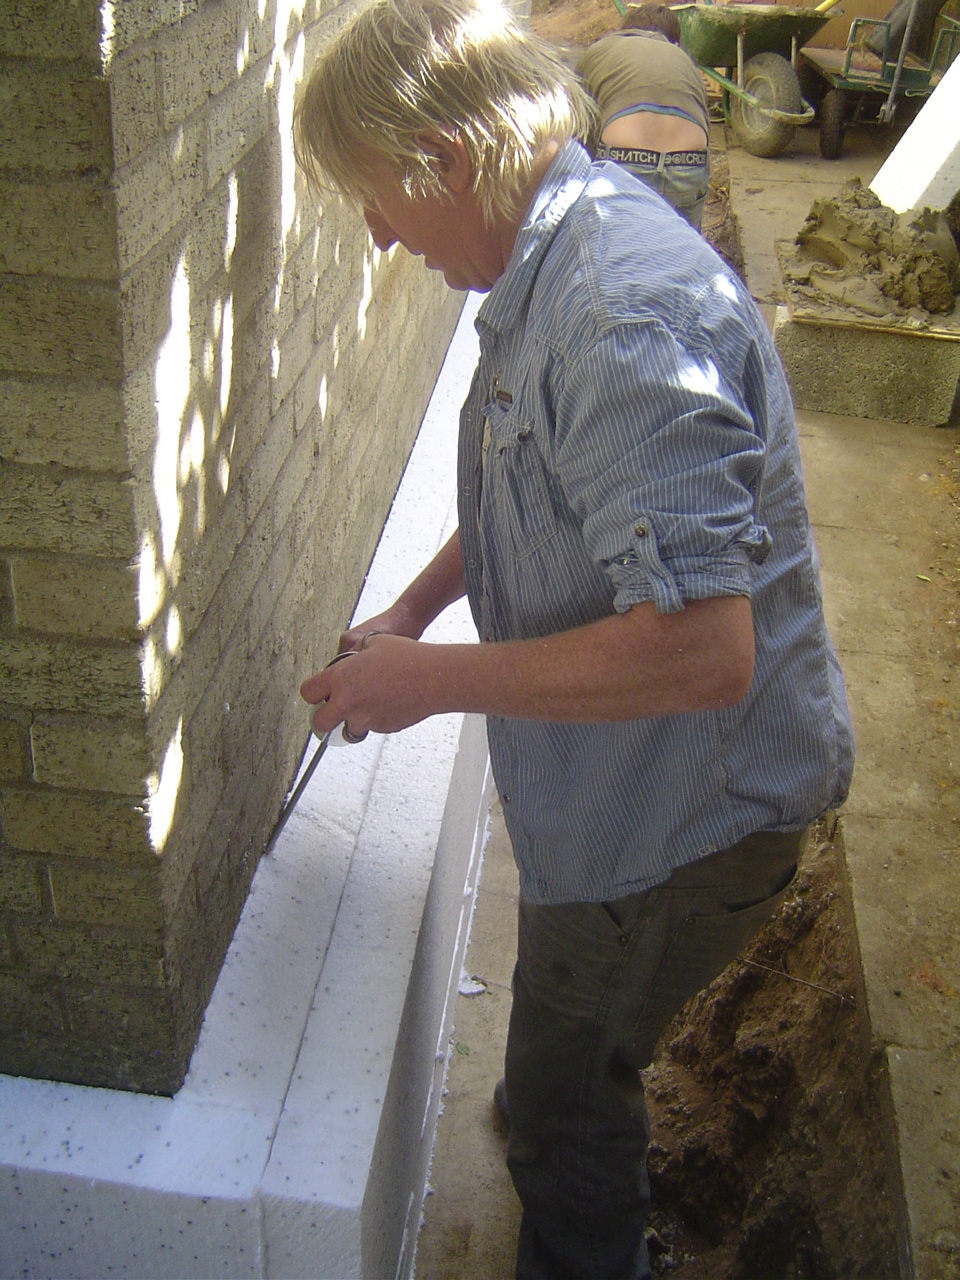
The existing brick walls needed to be cleaned to make sure the polystyrene insulation would fit tightly without any air pockets.
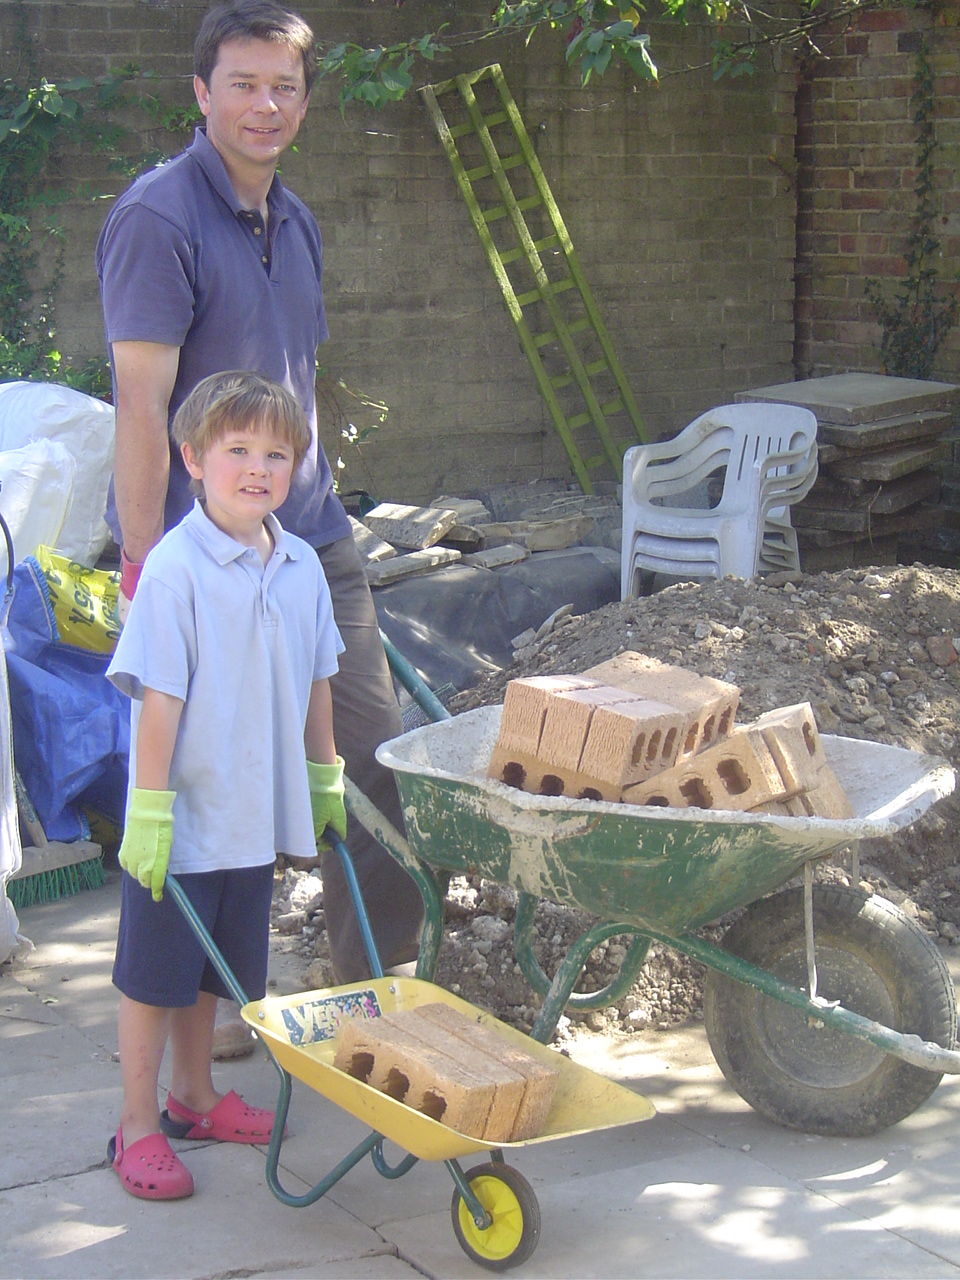
The delivery of the Ibstock bricks from EH Smith.
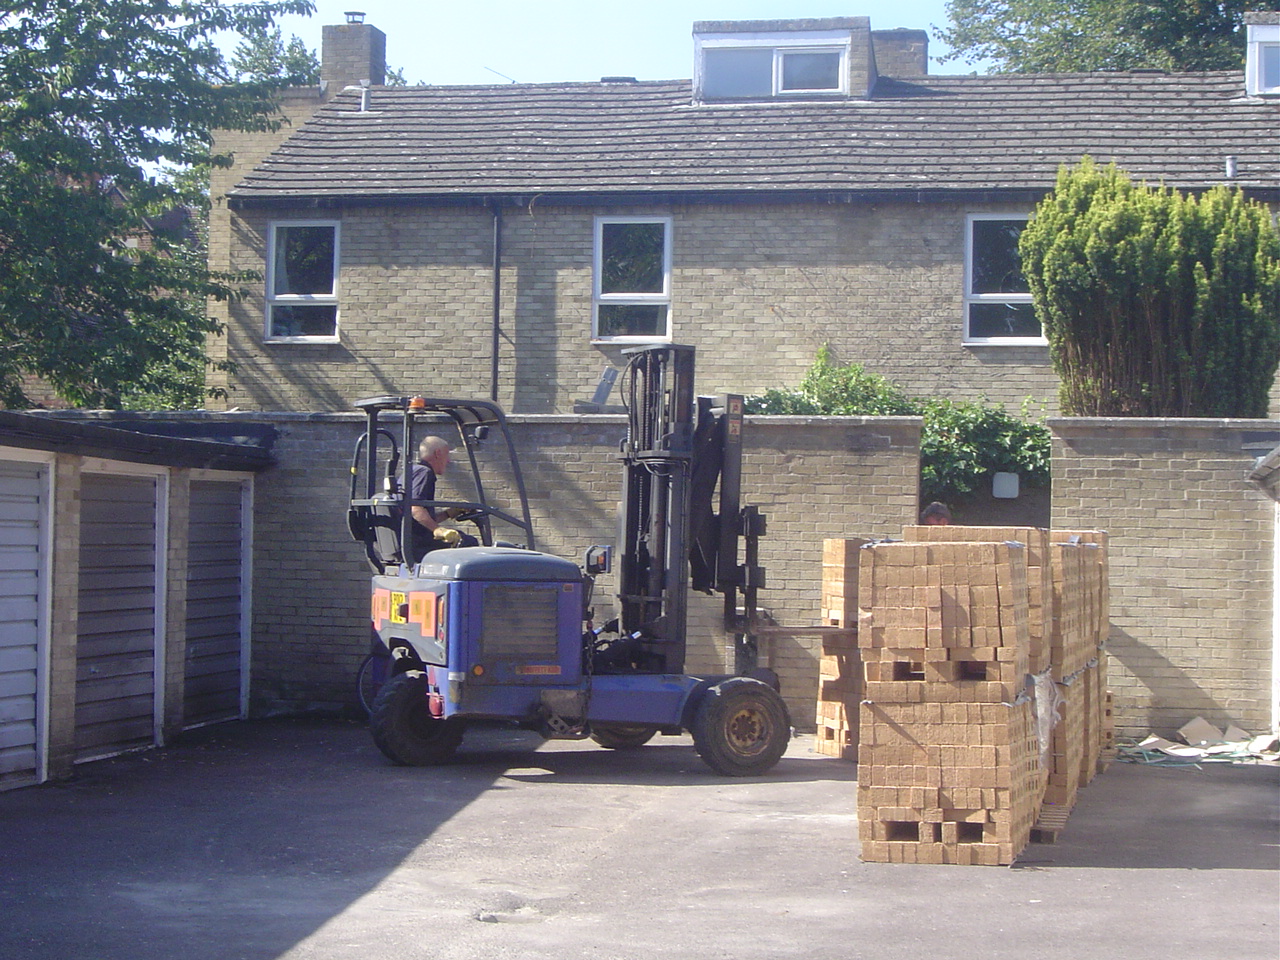
All the bricks had to be wheel barrowed through the site.
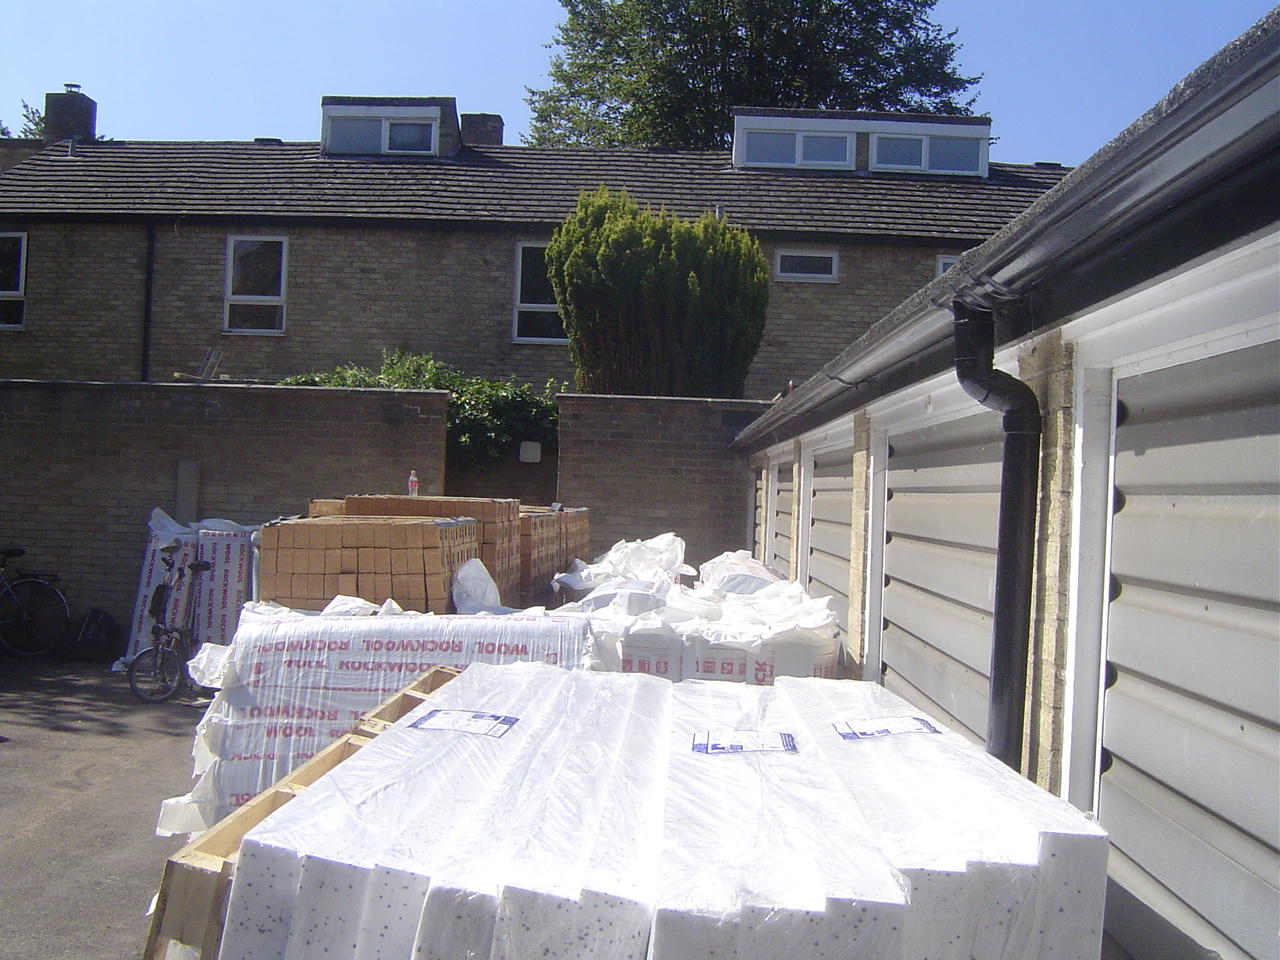
5,419 bricks, 59 packs of Rockwool Cavity Insulation and sheets and sheets of Expanded Polystyrene Insulation (EPS).
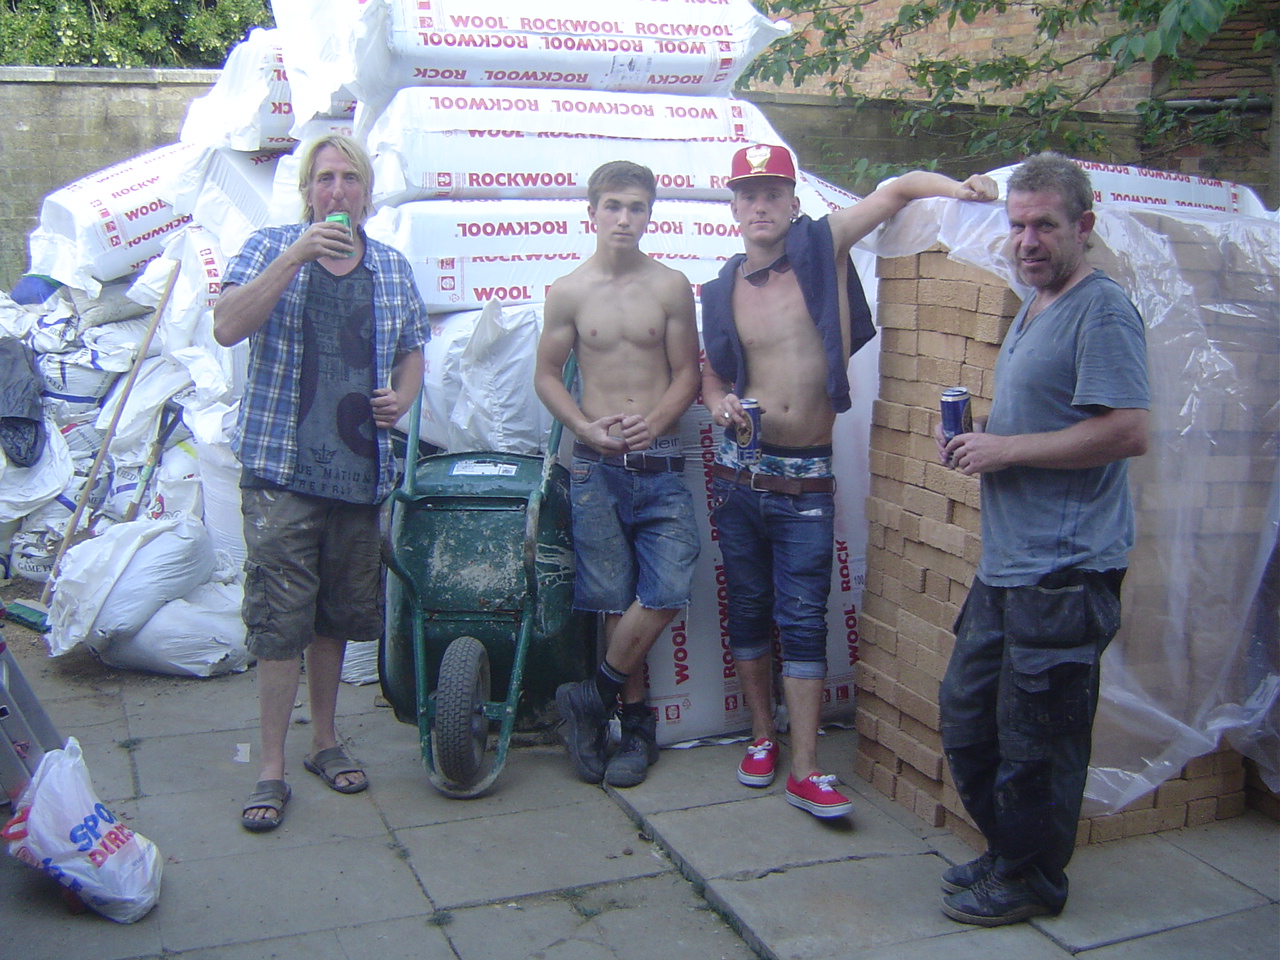
Most of the hard work was done by Mike, Jordan, Connor and Robbie. A well earned beer at the end of a tough day.
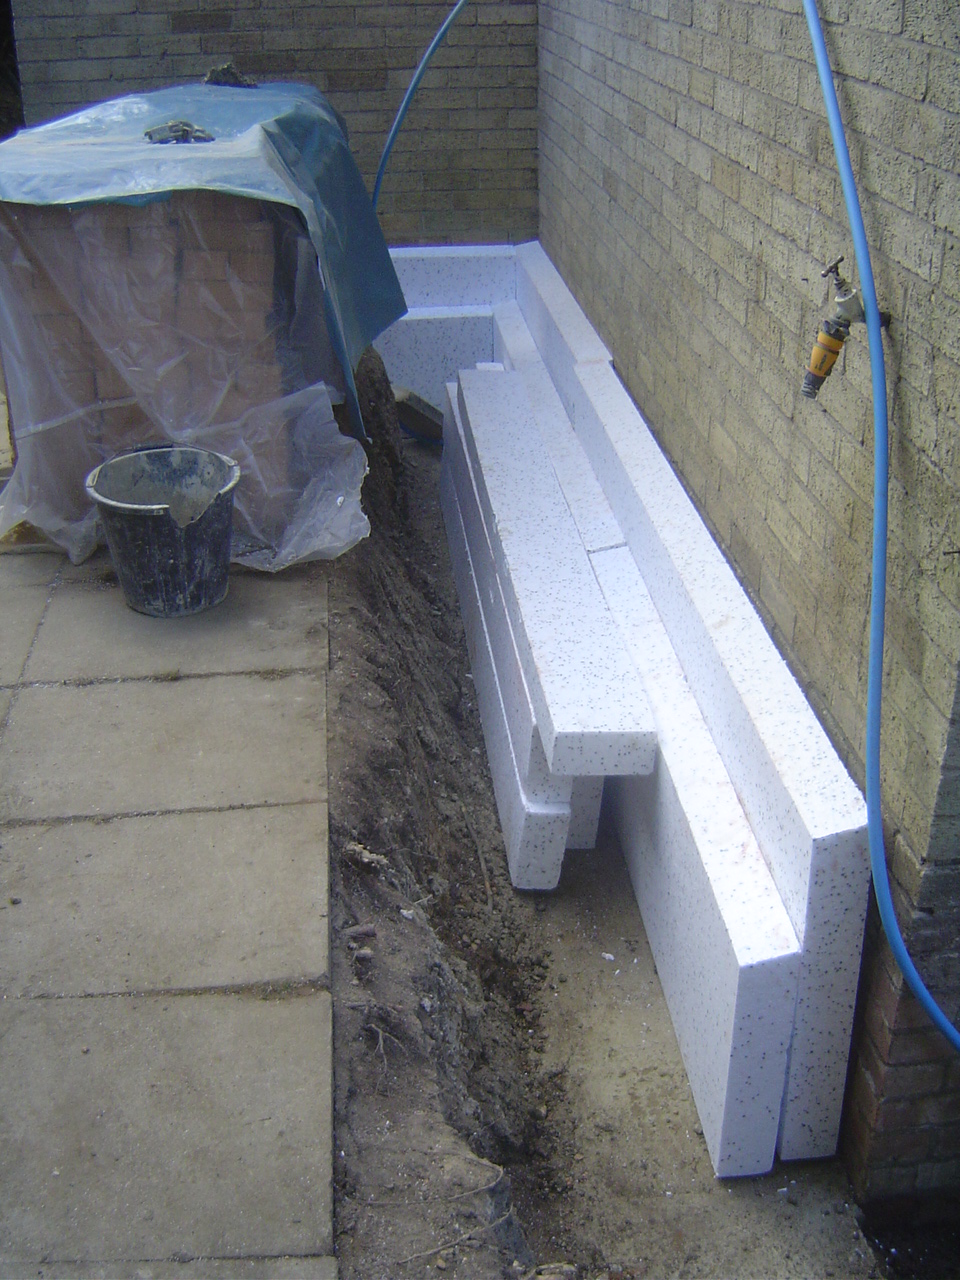
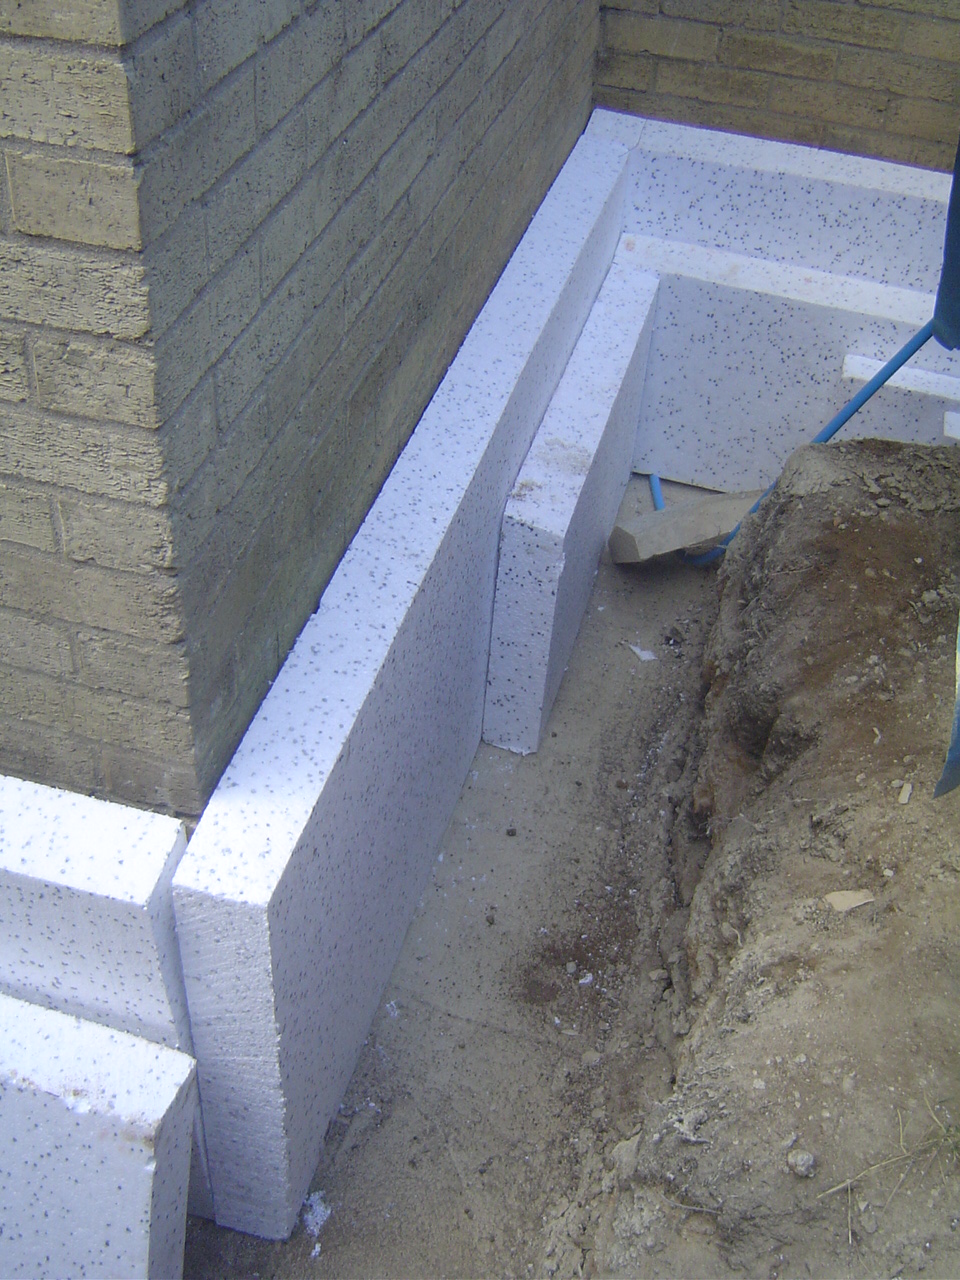
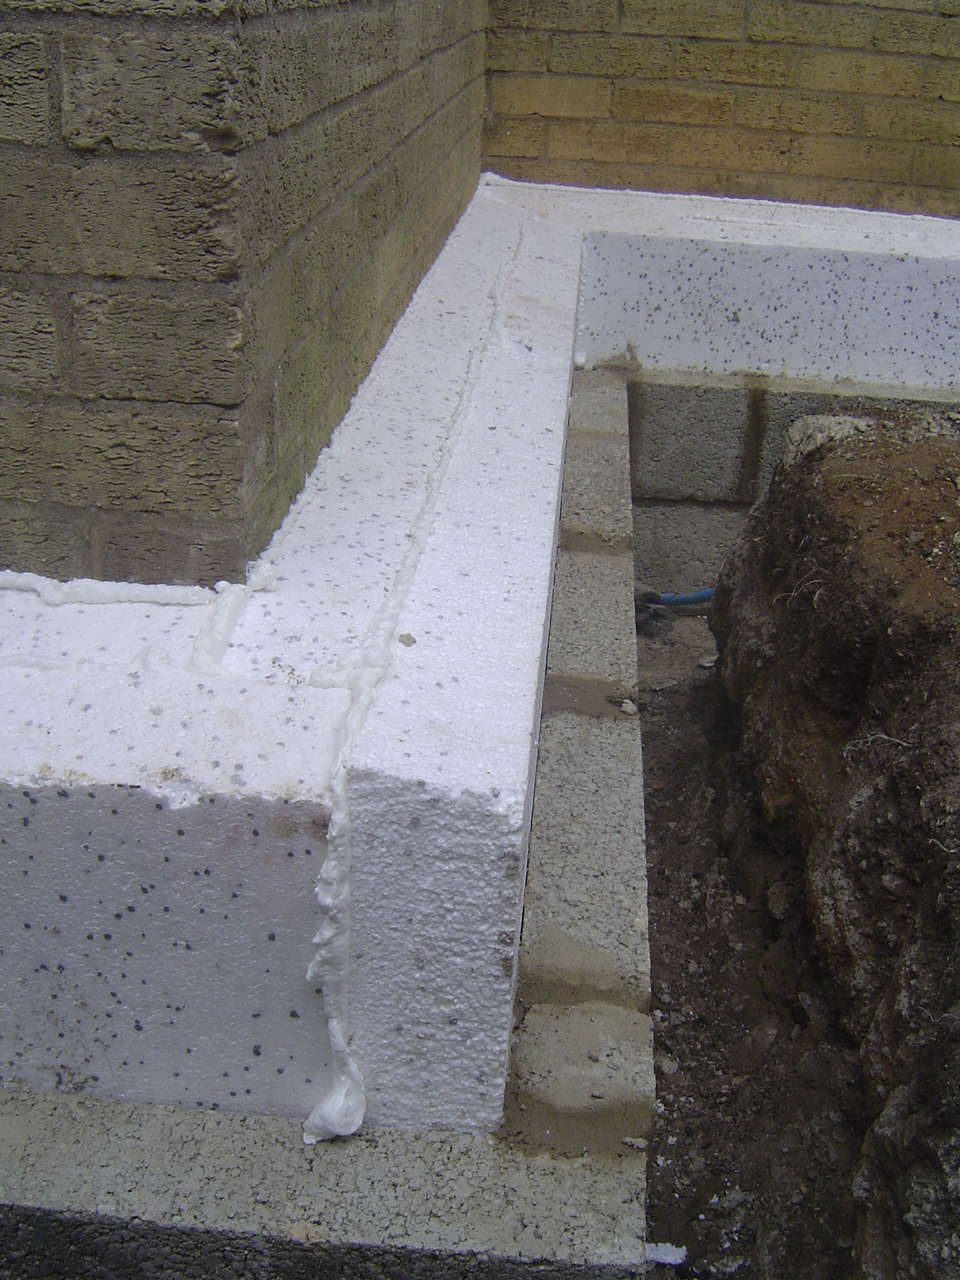
Below ground we used polystyrene insulation.
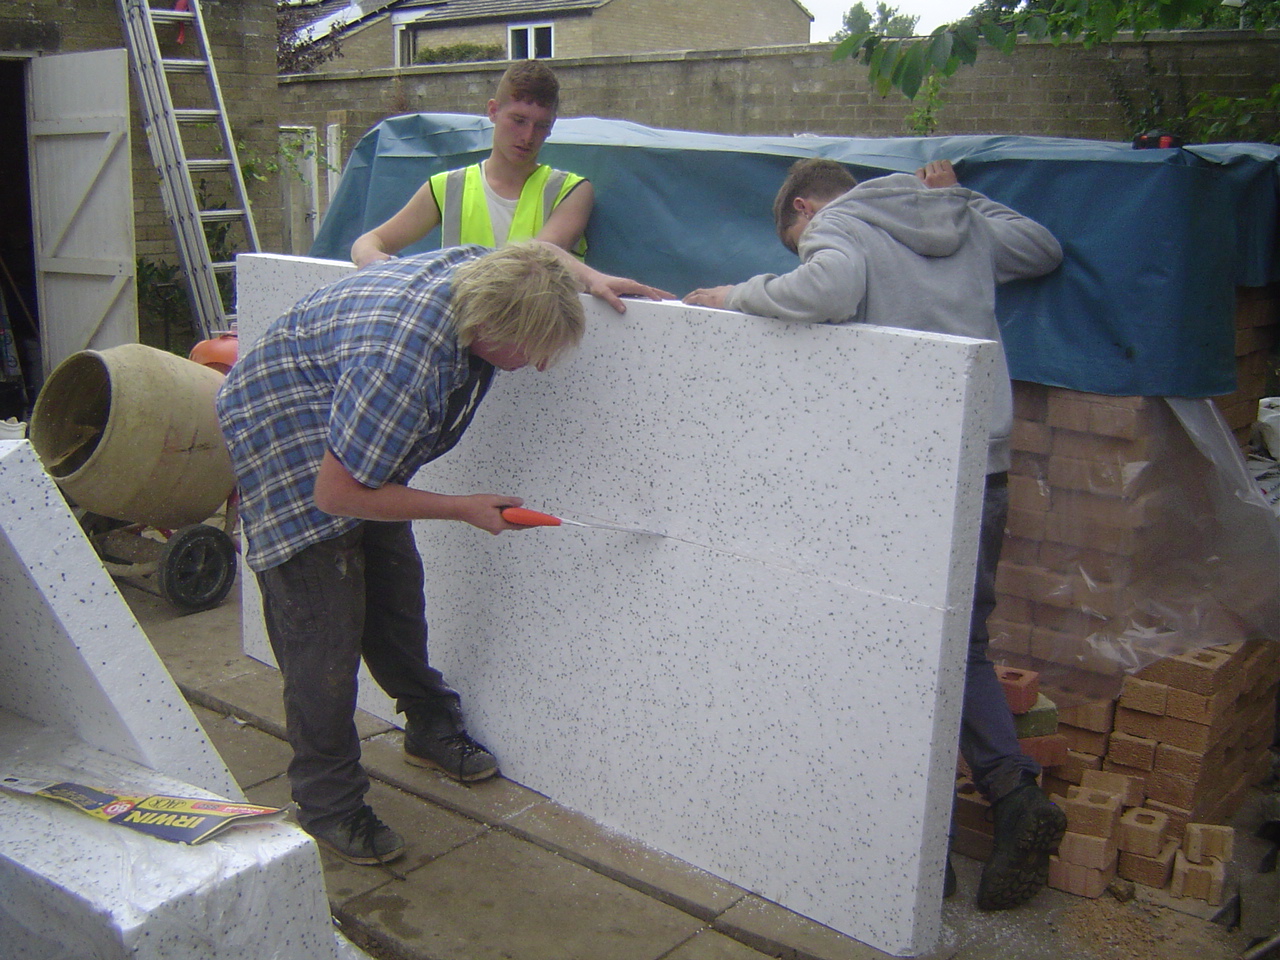
Cutting the expanded polystyrene (EPS 70)
Dave laying the first block
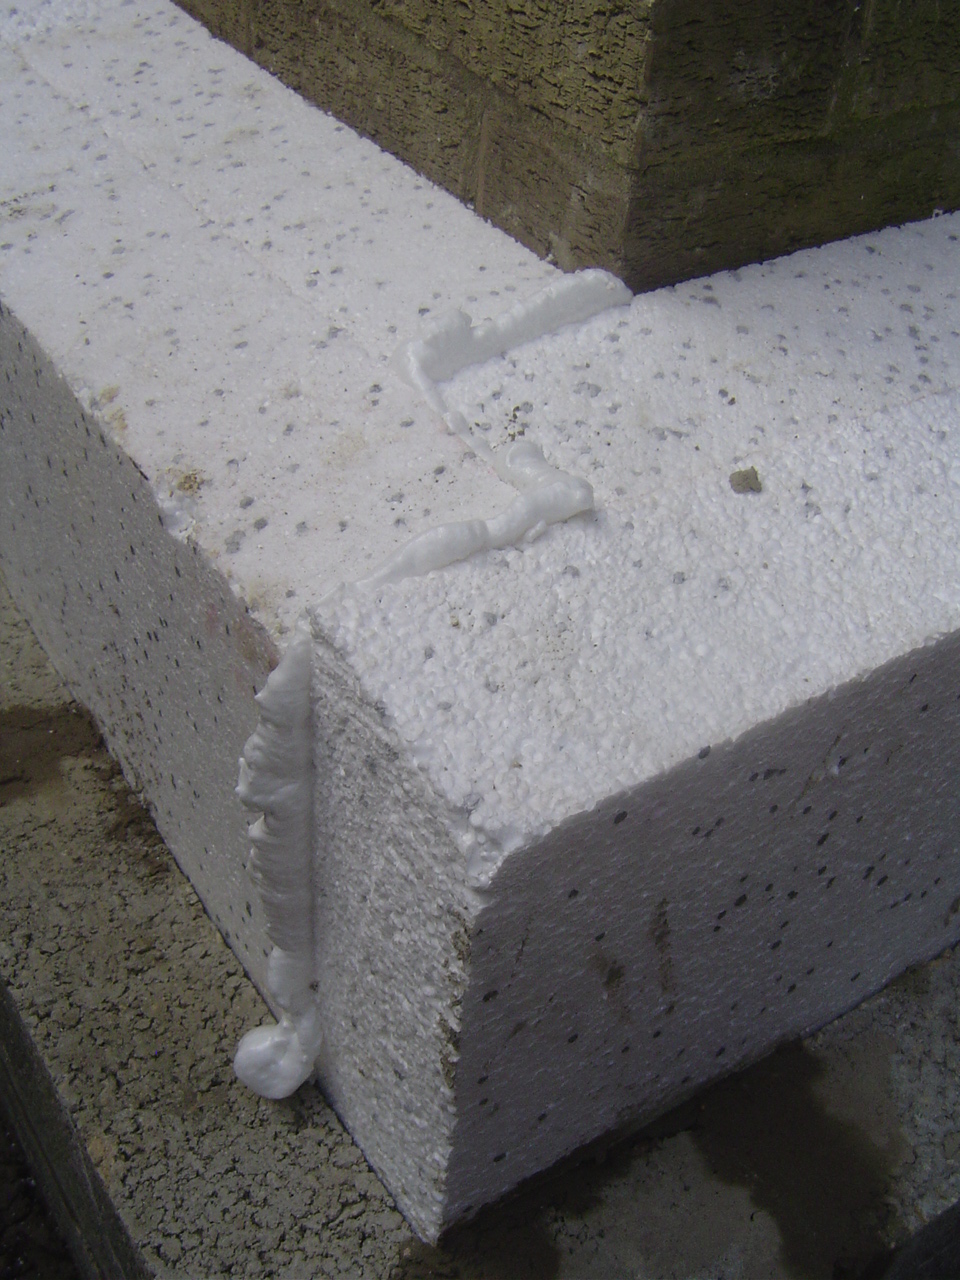
Mike using expanding foam to fill the gaps

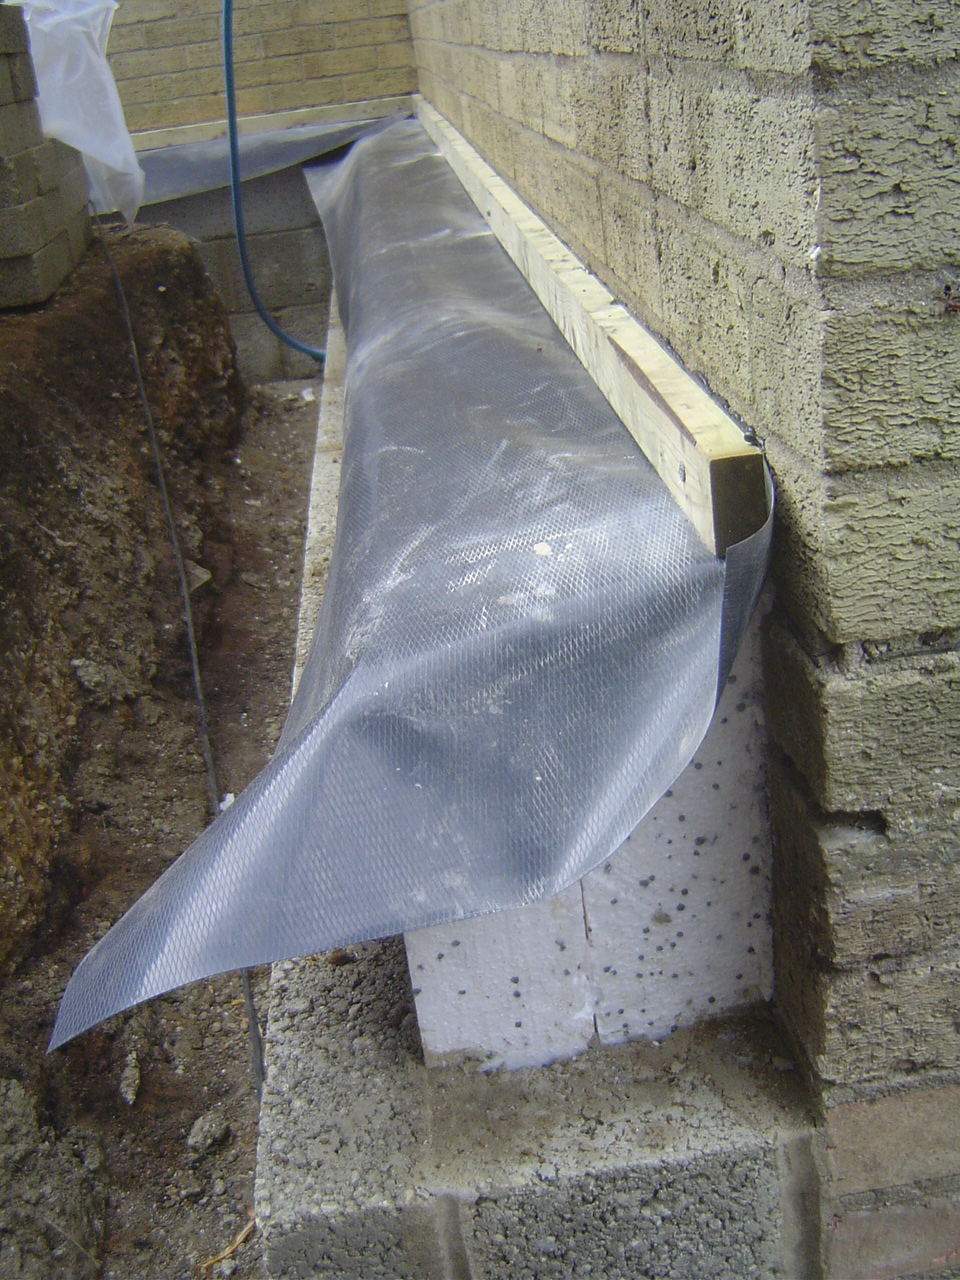
Damp Proof Course (DPC)
The Damp Proof Course was fixed to the existing walls with timber battens with a generous bead of silicone sealant applied to the back before being screwed into place.

Robbie using the plate compactor or ‘wacker plate’