The junction of the new walls and roof was always going to be an important area to get right on several different levels; aesthetically, thermally and structurally. Some of our neighbours were very concerned at what impact the new wall would have on the height of the rear windows. In advance of the brickwork getting to the top of the eaves Mike took some measurements to work out a solution.
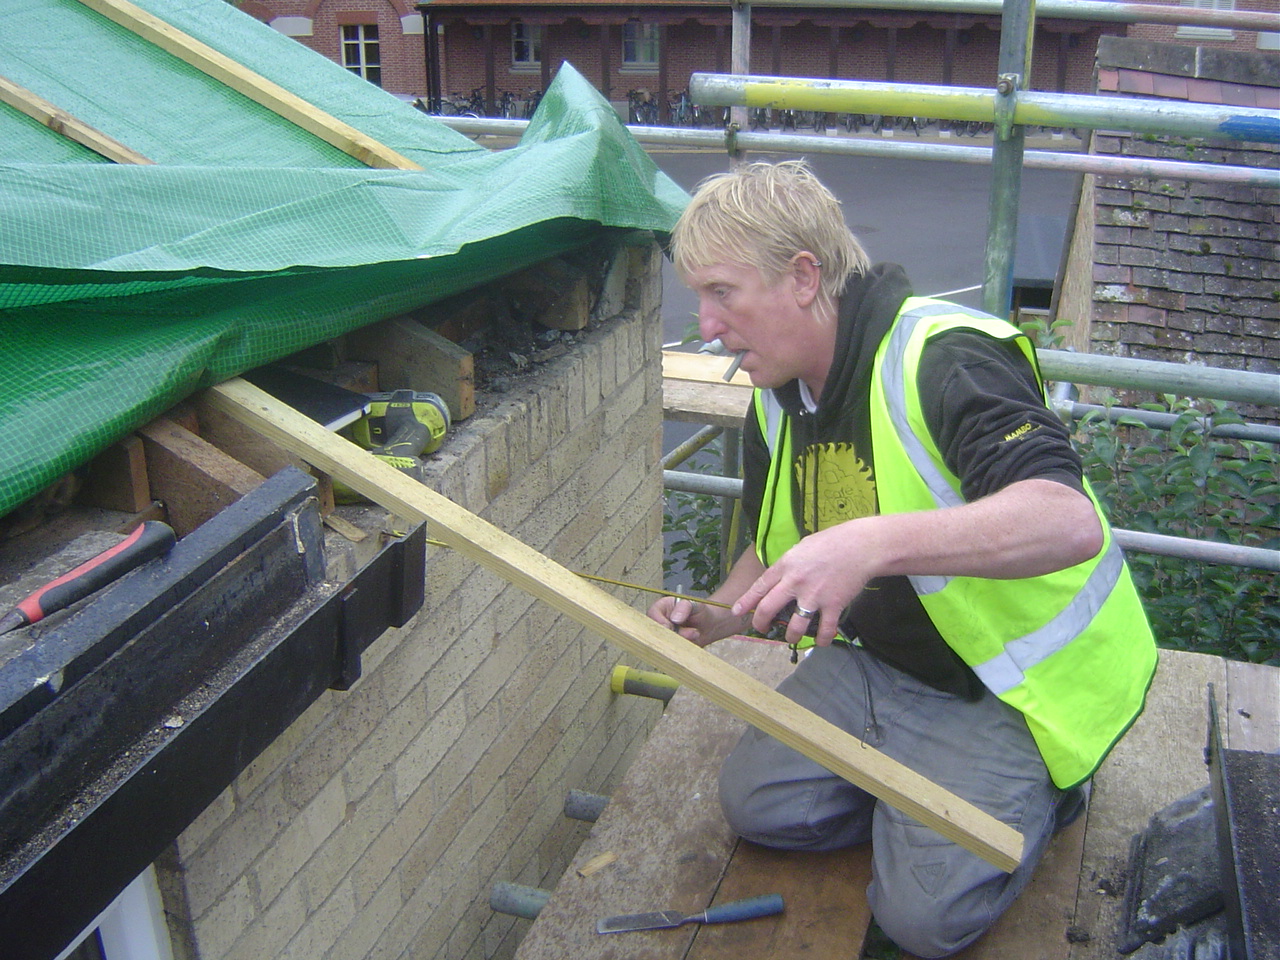
He then drew it up.

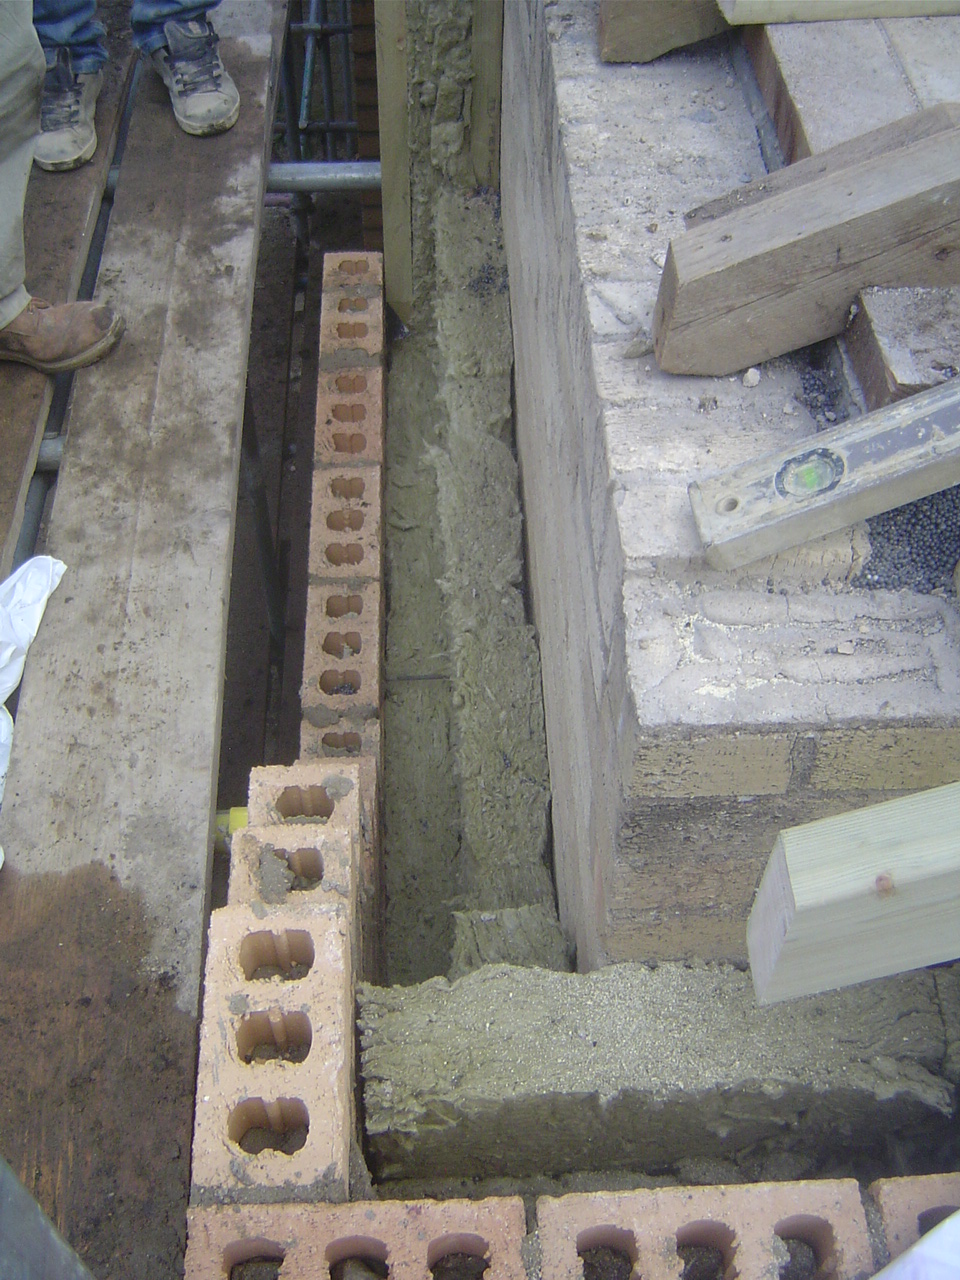
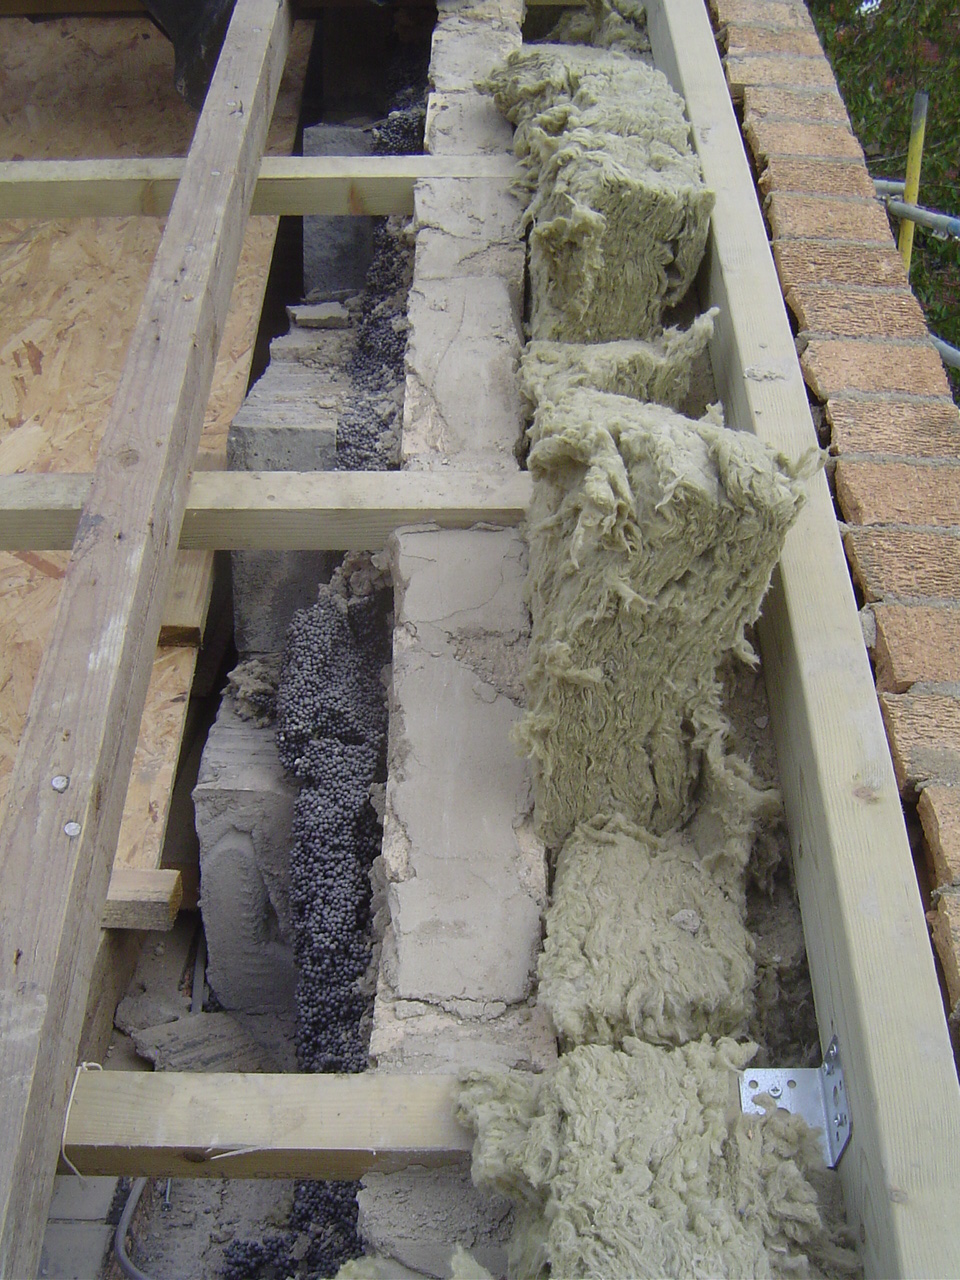
We removed the header course of bricks from the original wall to increase the space available for insulation at the top of the wall. It is a pinch point above the bedrooms where the depth of loft insulation is greatly reduced.
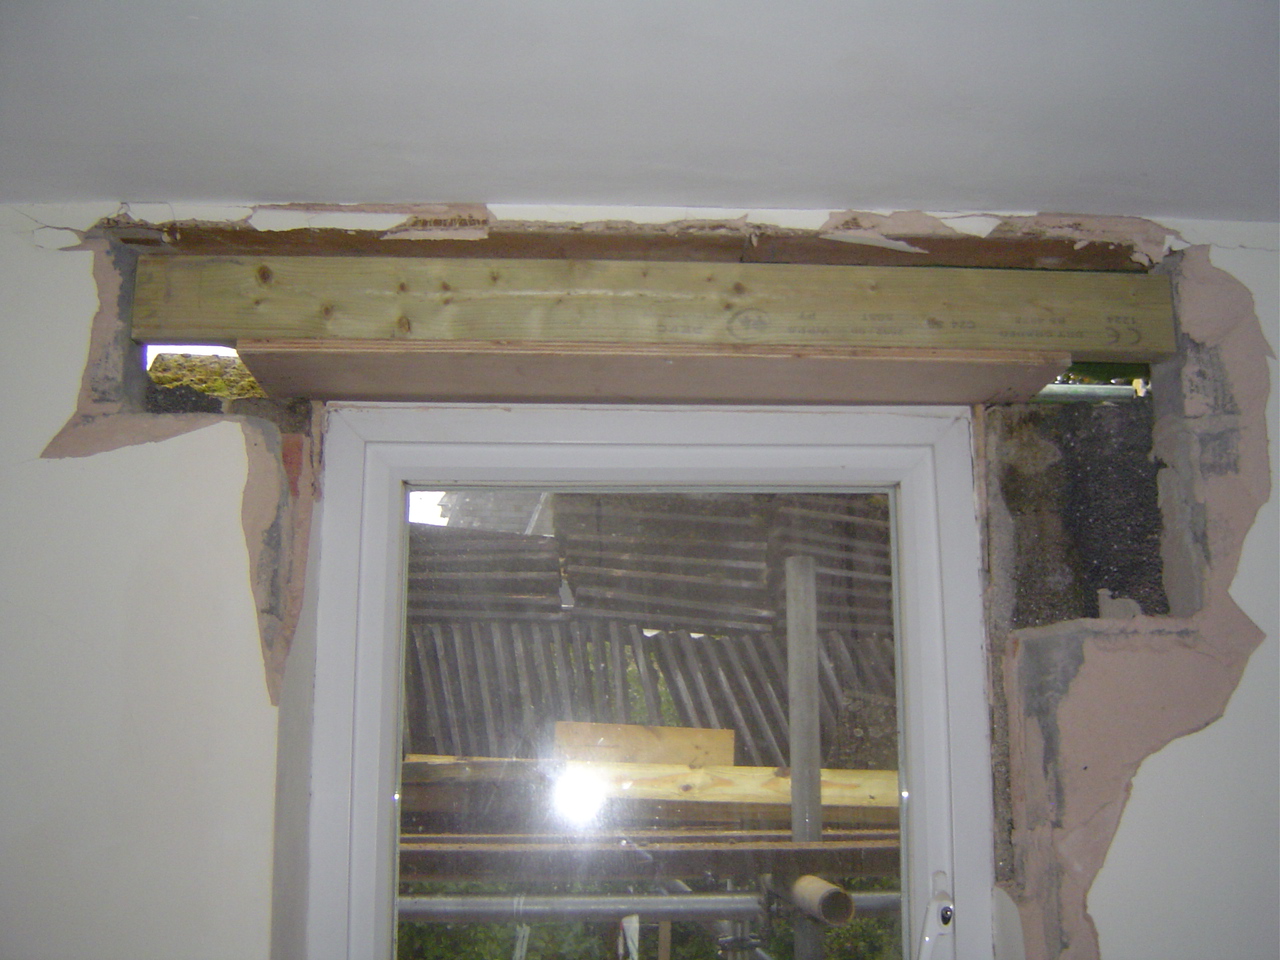
We also removed the very bulky concrete lintels above the first floor windows at the back of the house for the same reason.
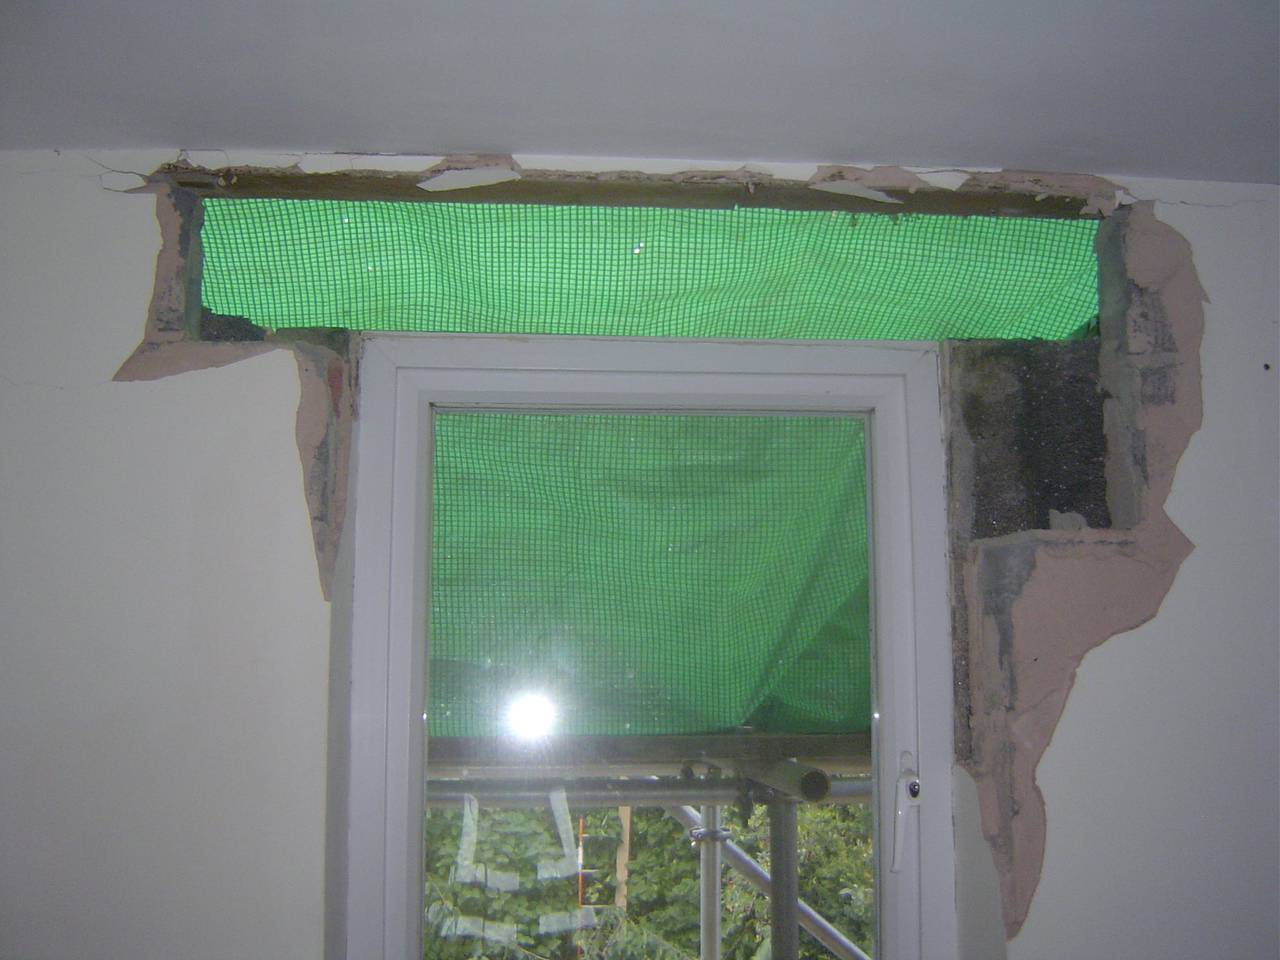
We replaced them with a much less bulky piece of timber.
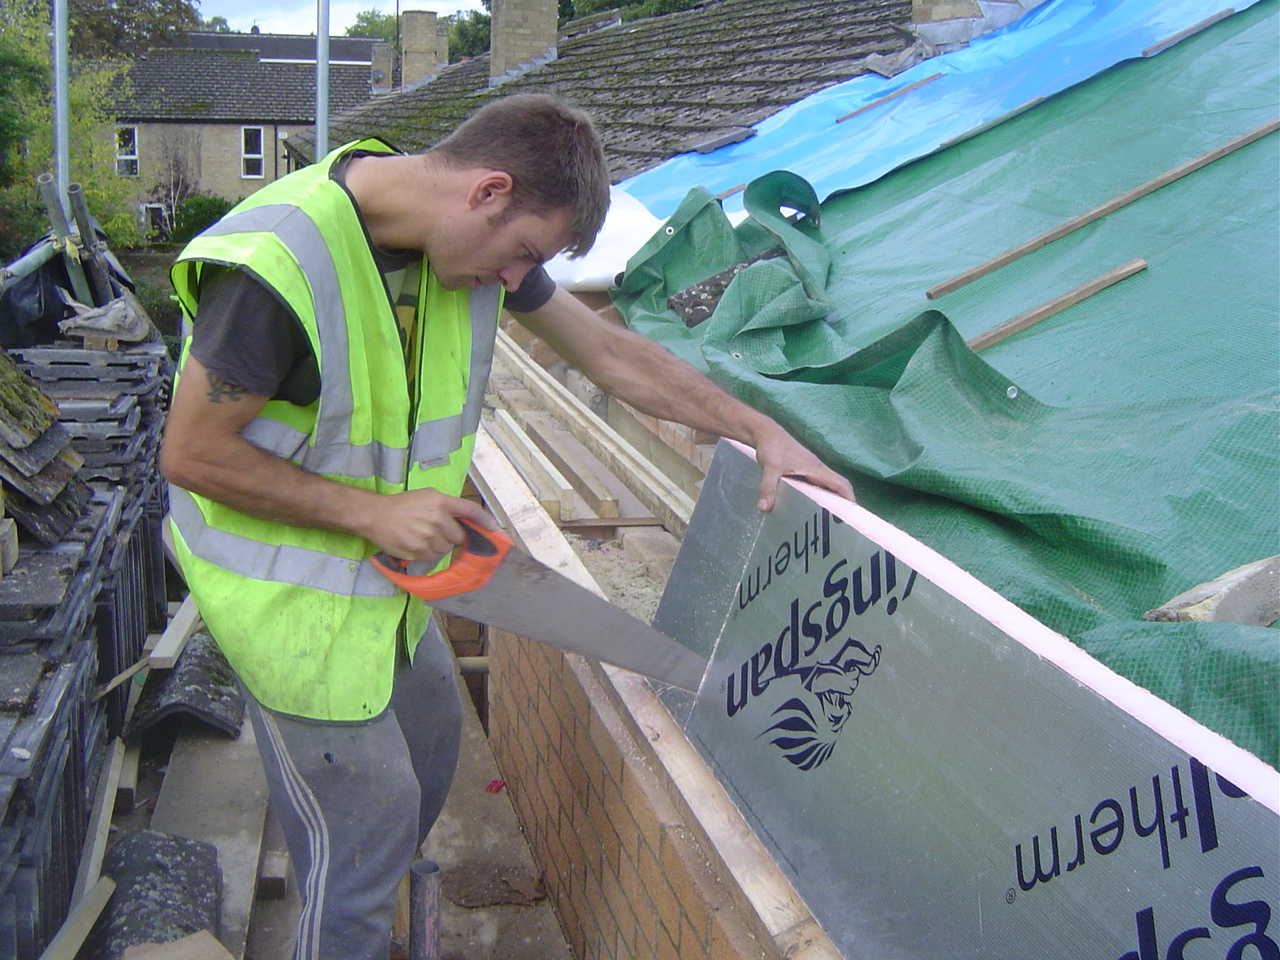
Given the limited space at the eaves we decided to use some high performance Kingspan Kooltherm K7 rigid insulation board. This has a lamda of 0.020 compared to 0.037 for the Rockwool Cavity batt.
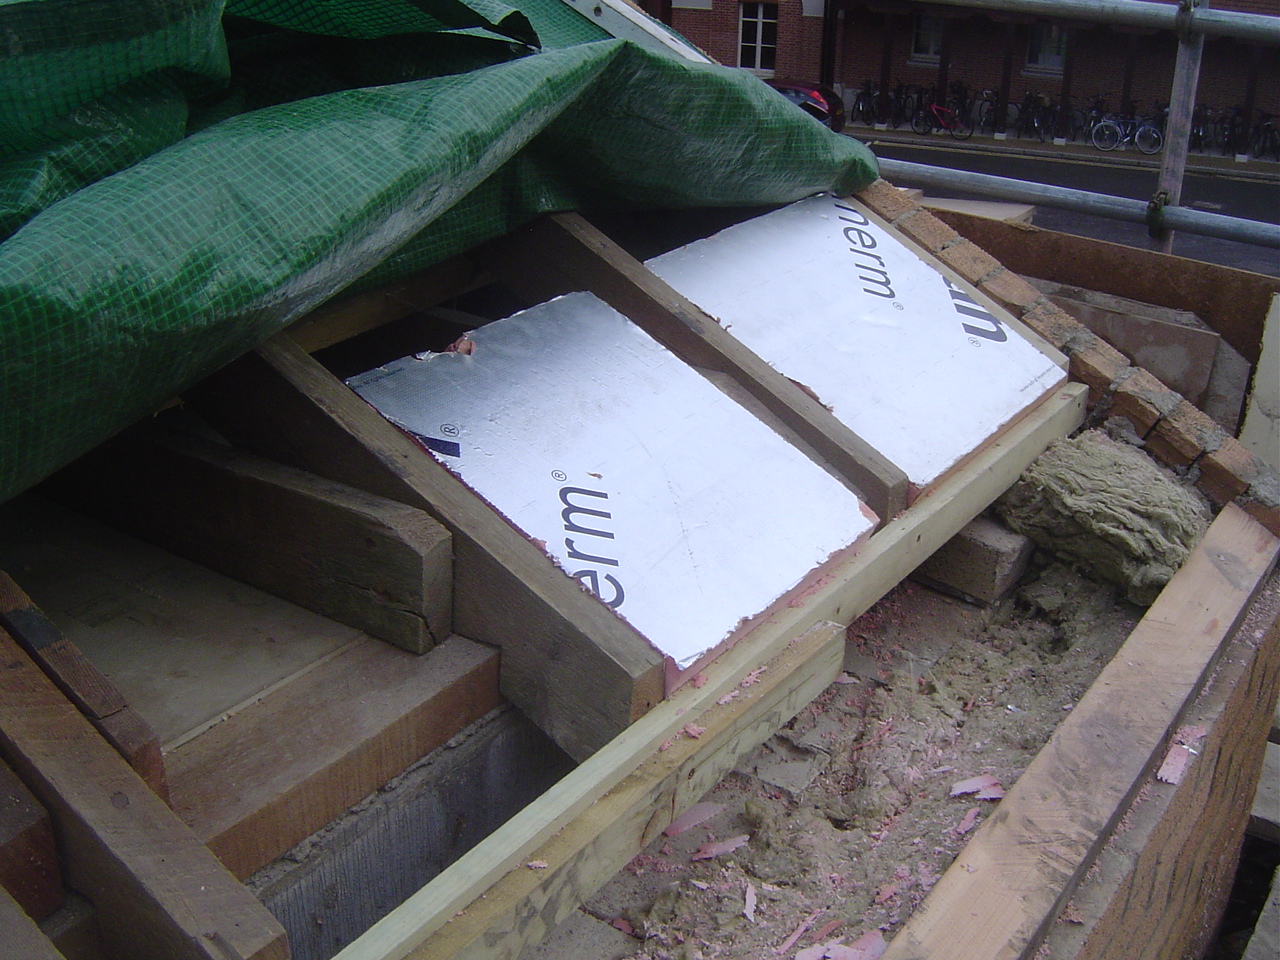
Further Rockwool insulation was added to the top of cavity …
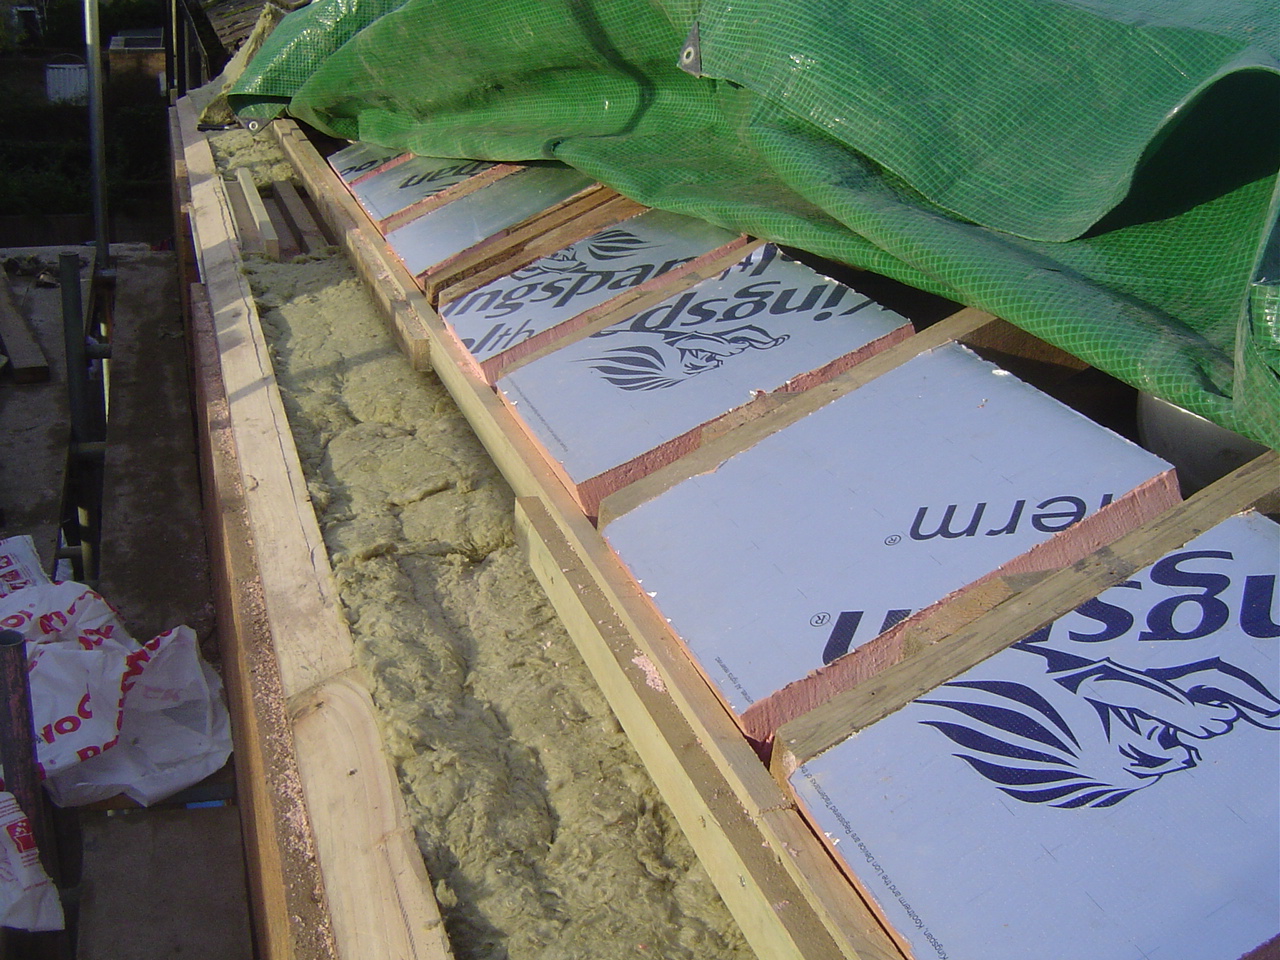
… and plywood was used to close the cavity and tie the top of the new wall to the roof.

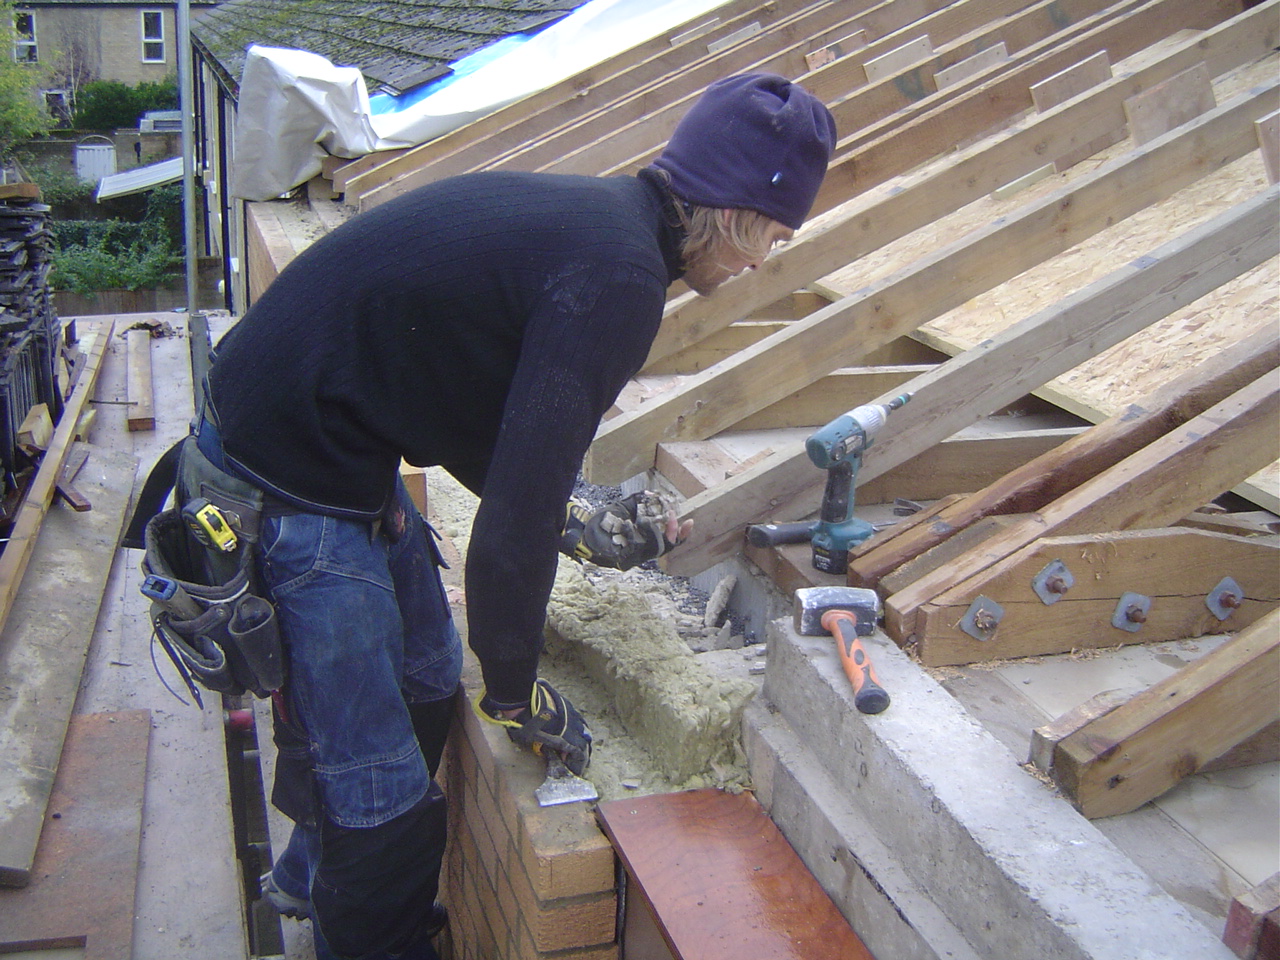
The verge on the gable wall required a different solution. We needed to install a new rafter to support the roof extension over the new wall. To secure the rafter we built a ‘ladder’ over the existing gable wall.
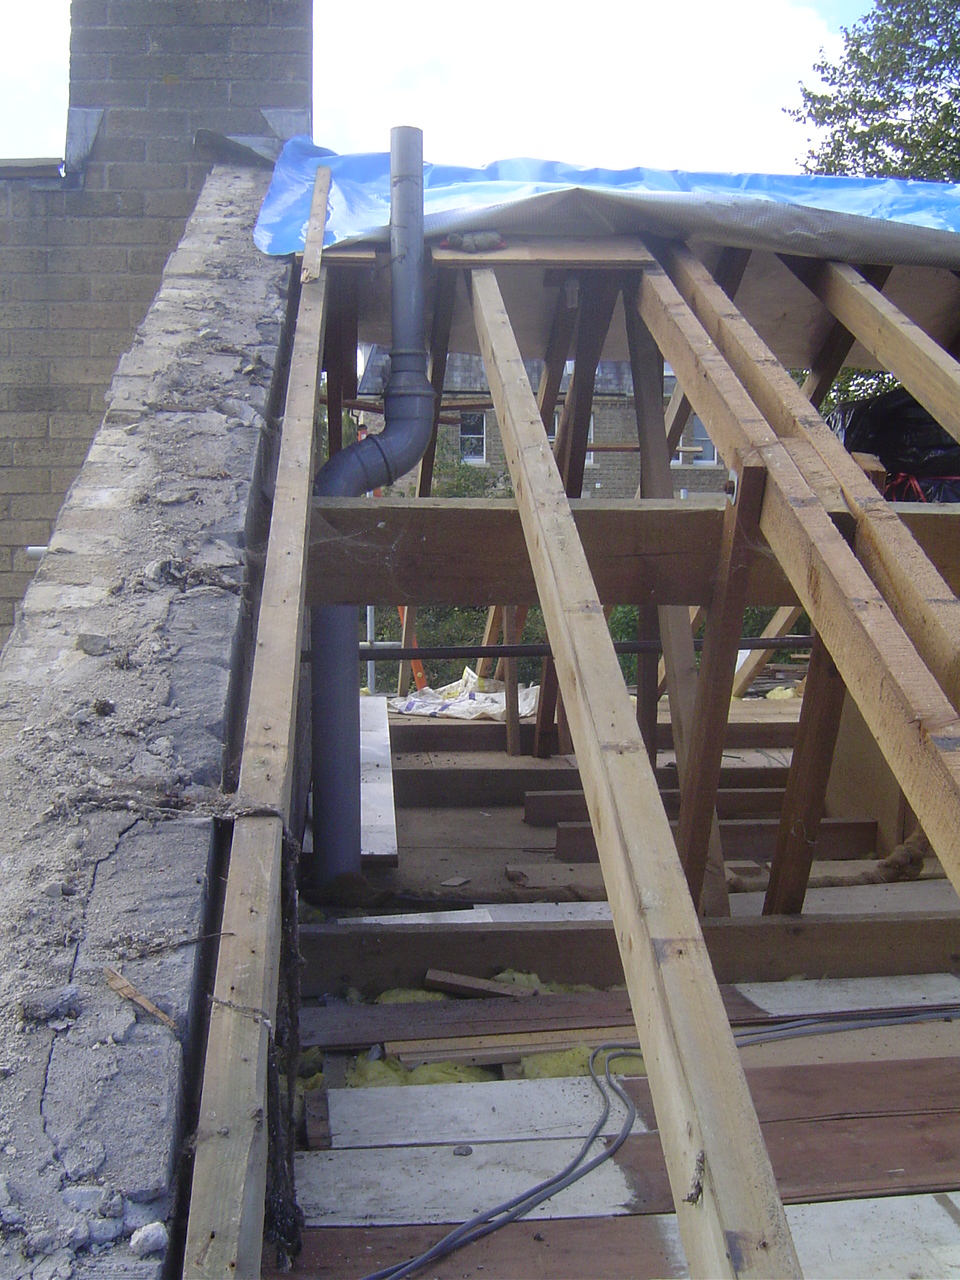
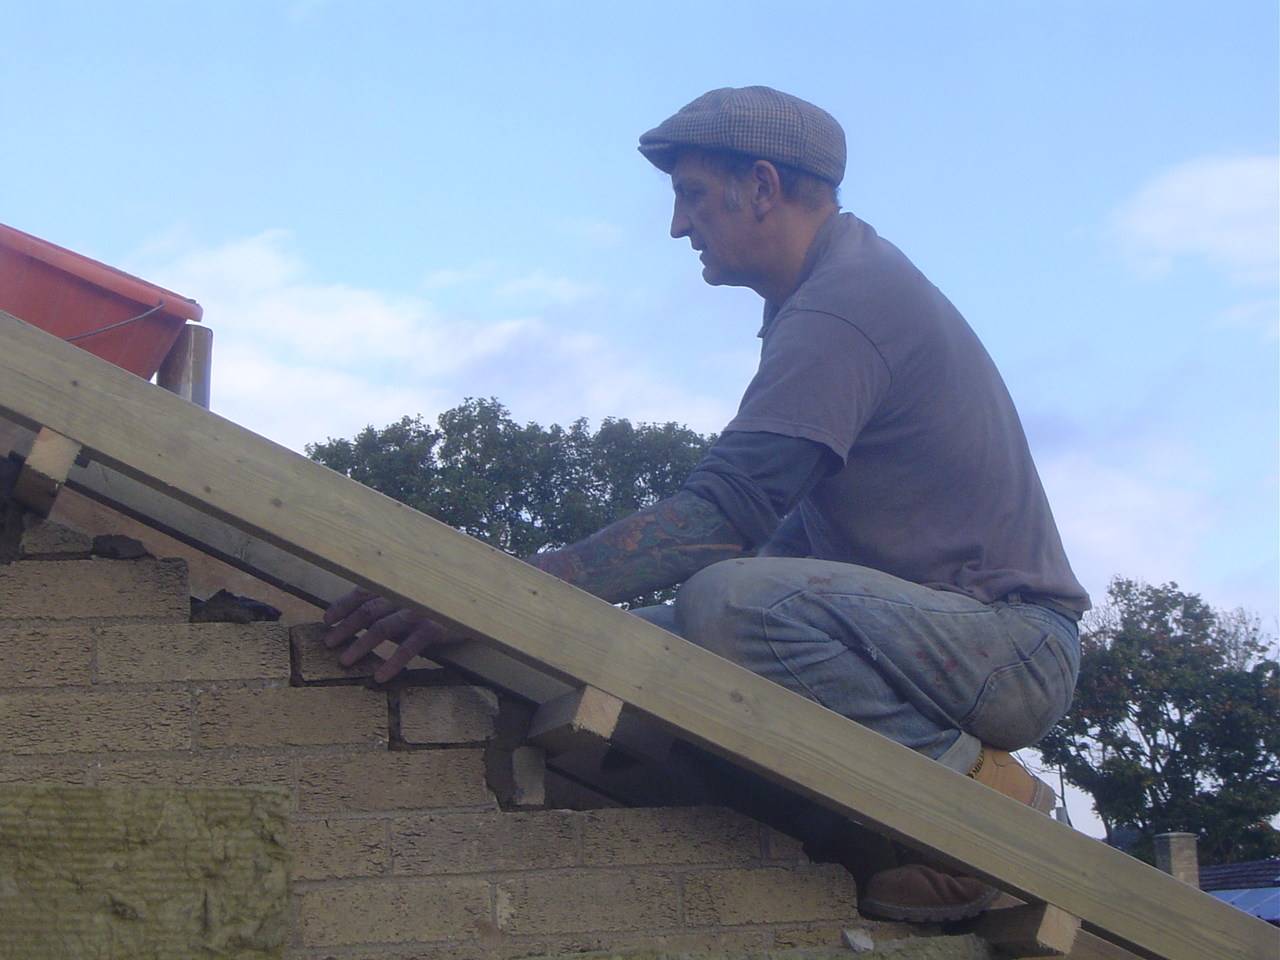
Before building the ladder we needed to remove the header course of bricks.
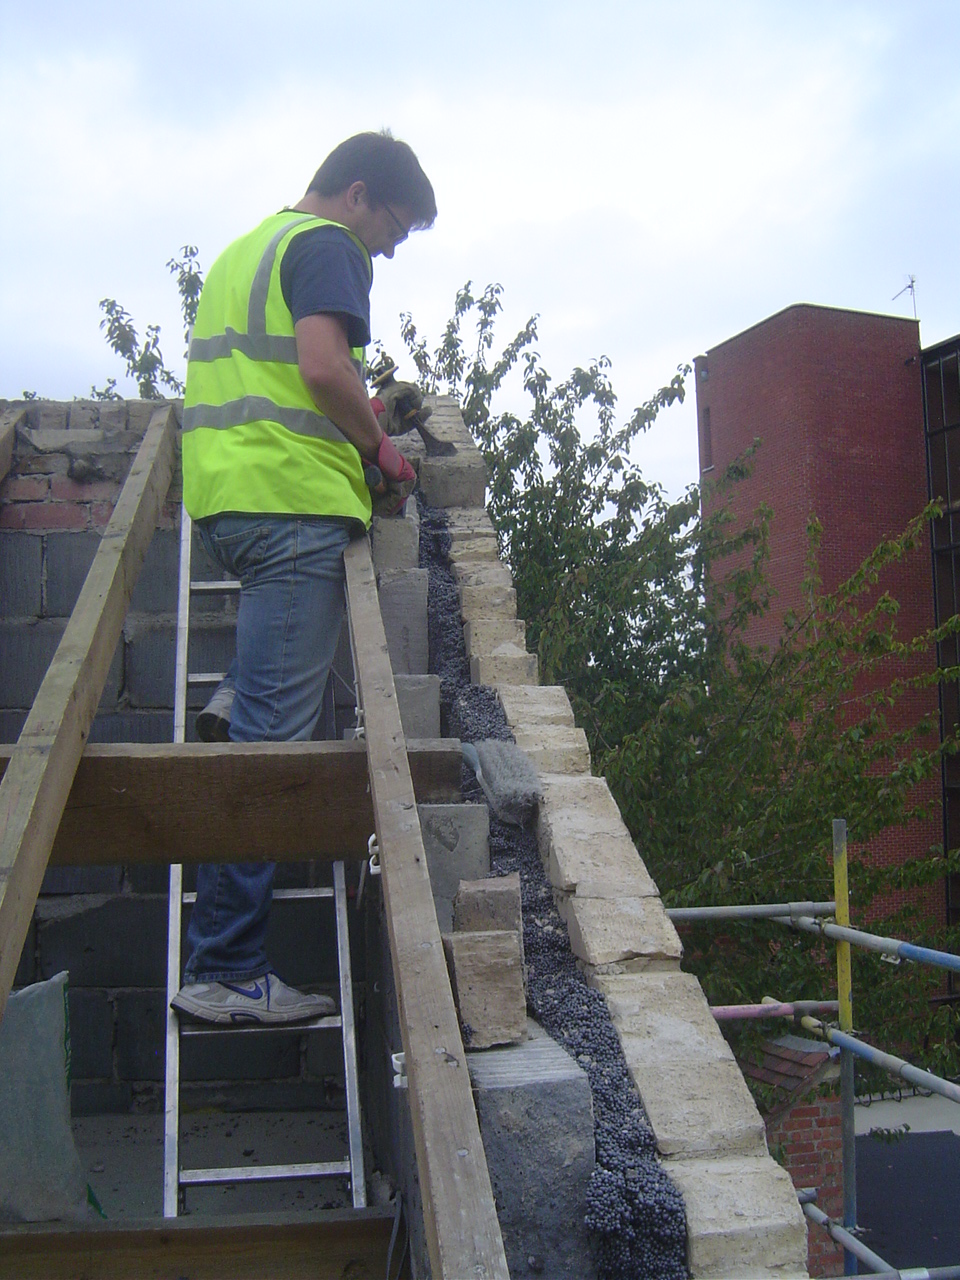
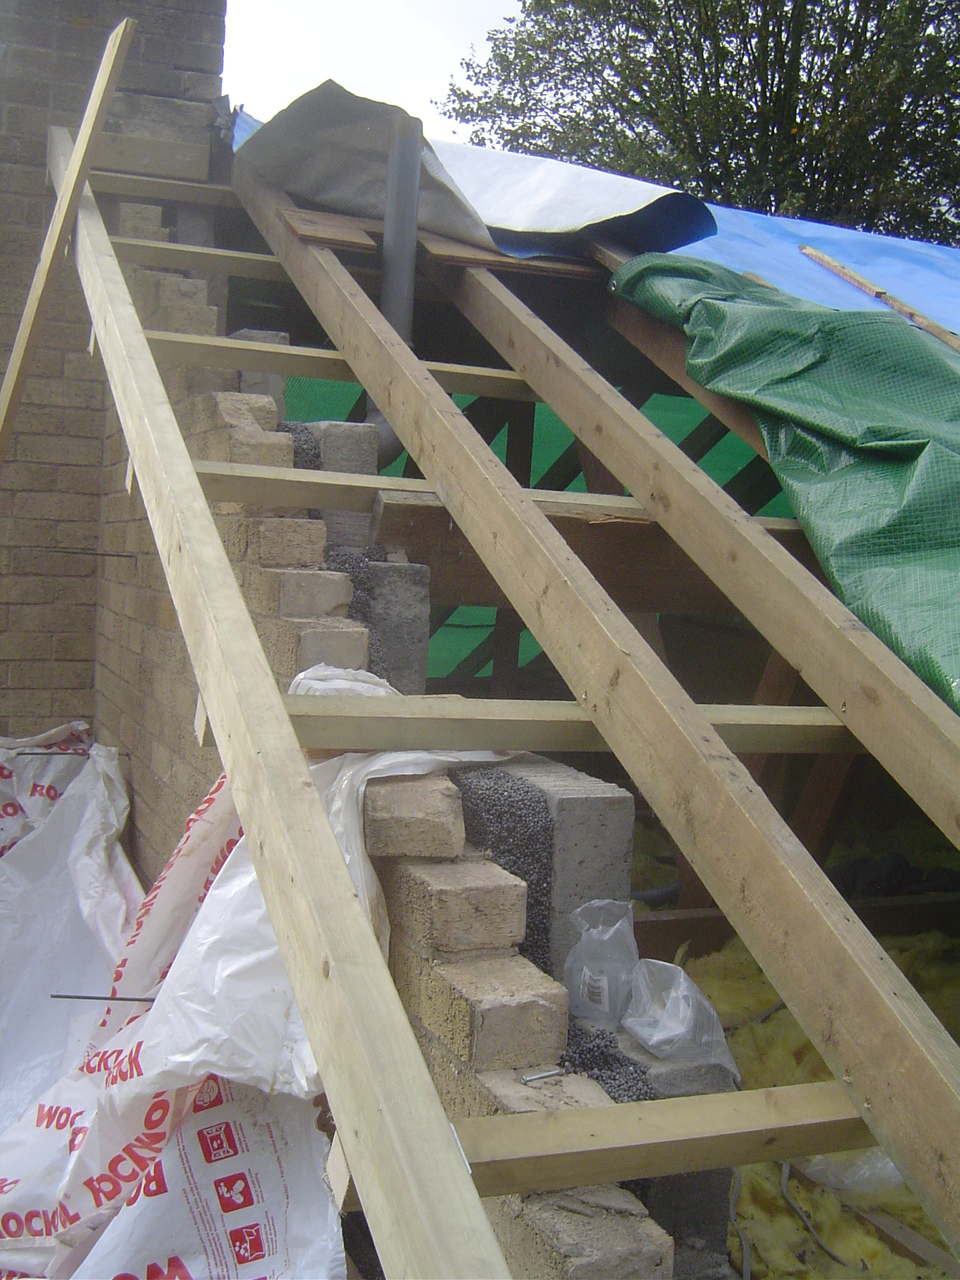
Once the ladder was in place we raised the height of the wall again to support the ‘steps’ of the ladder.
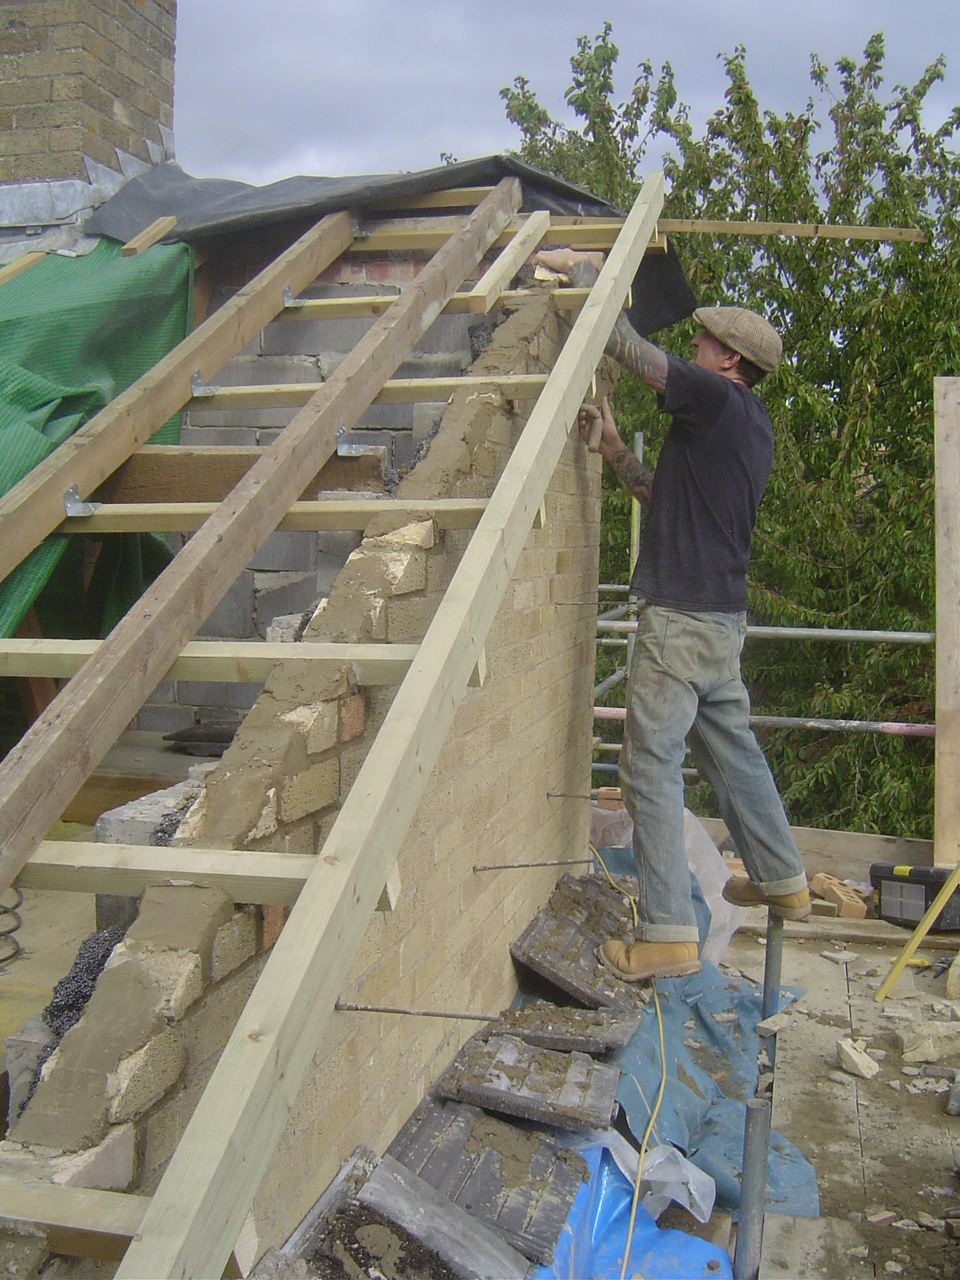
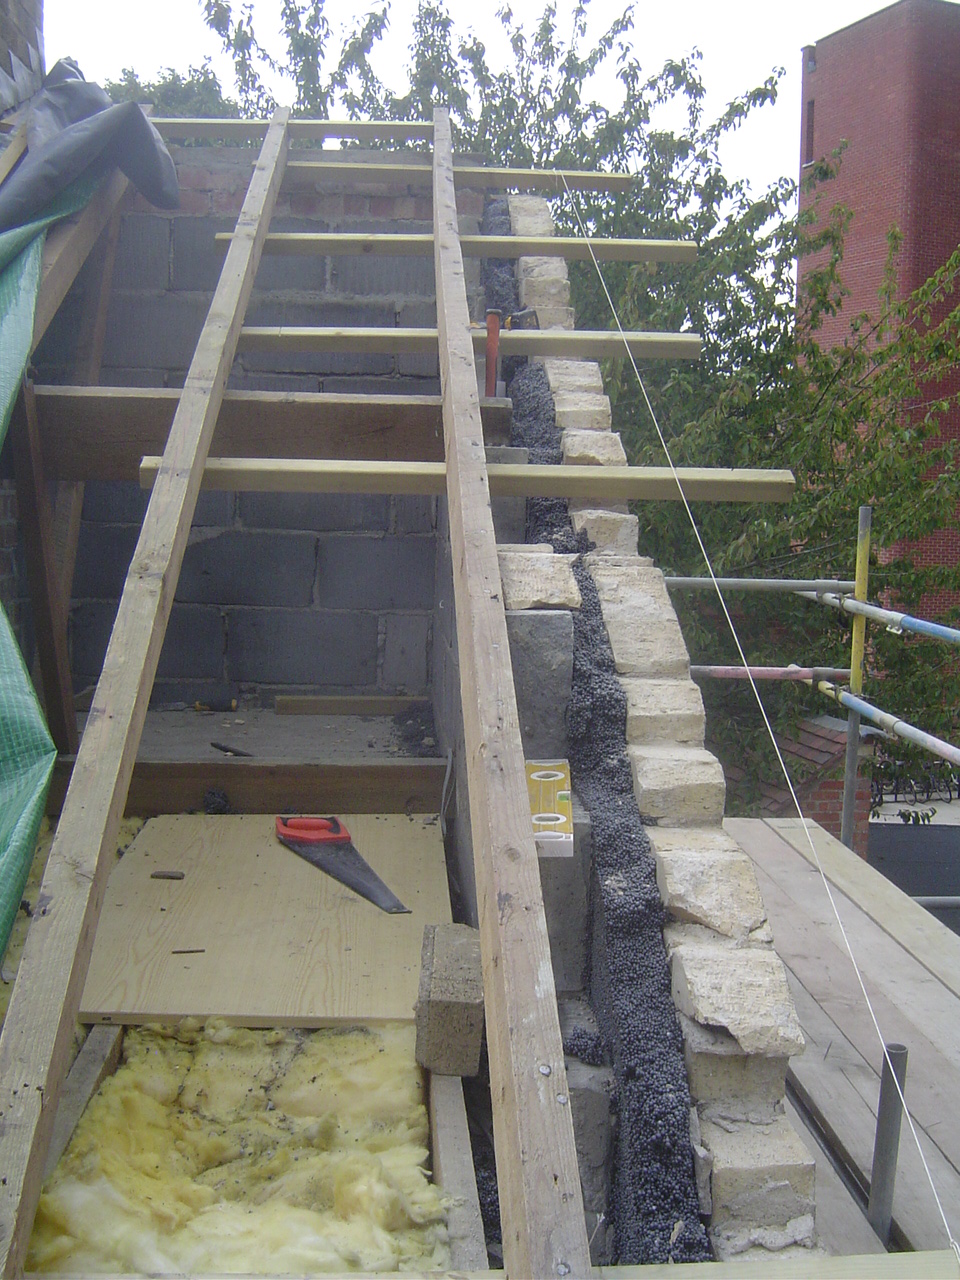
With the ladder in place the new wall could continue up the gable.

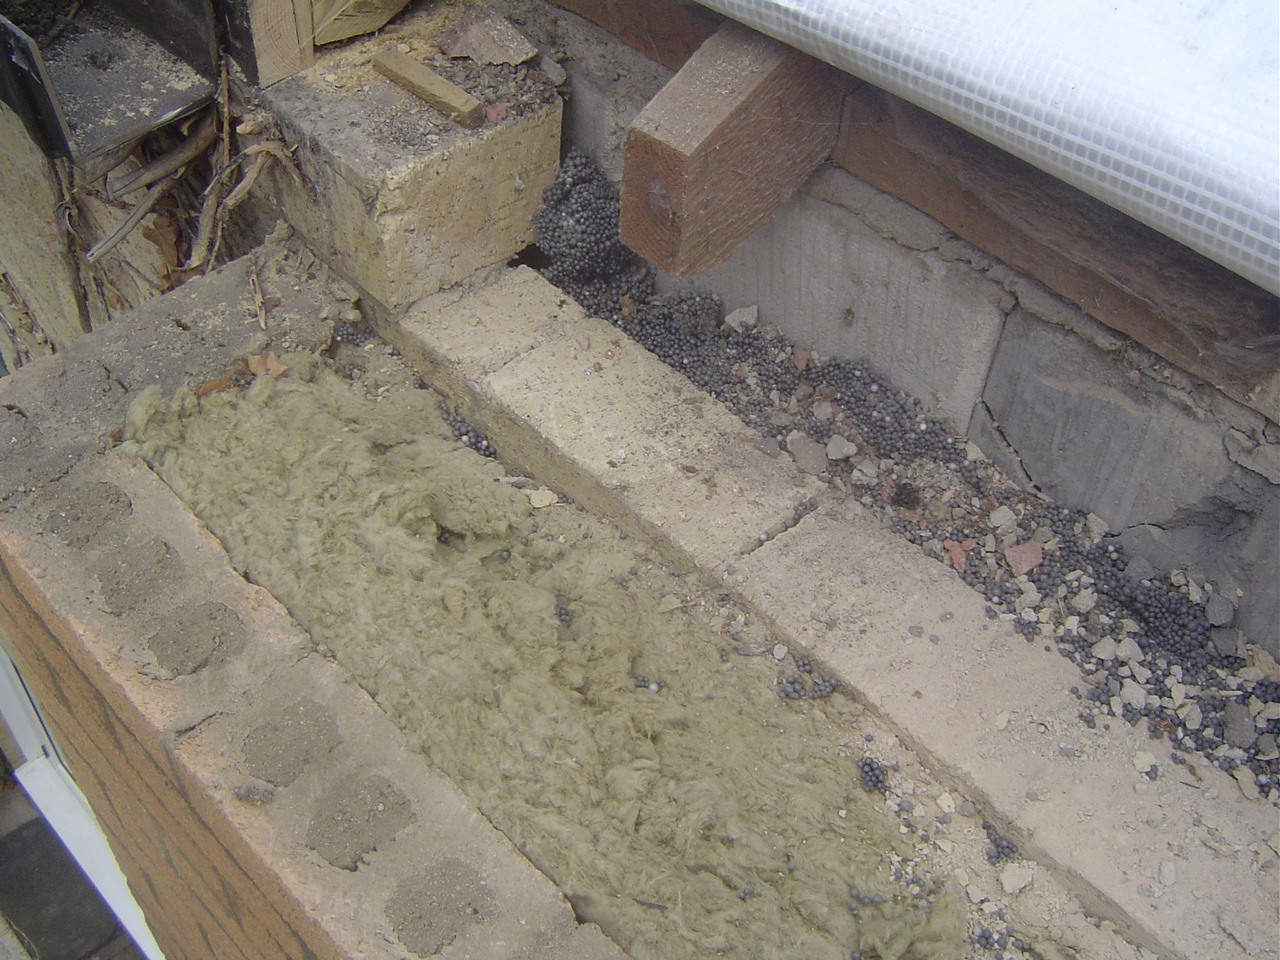
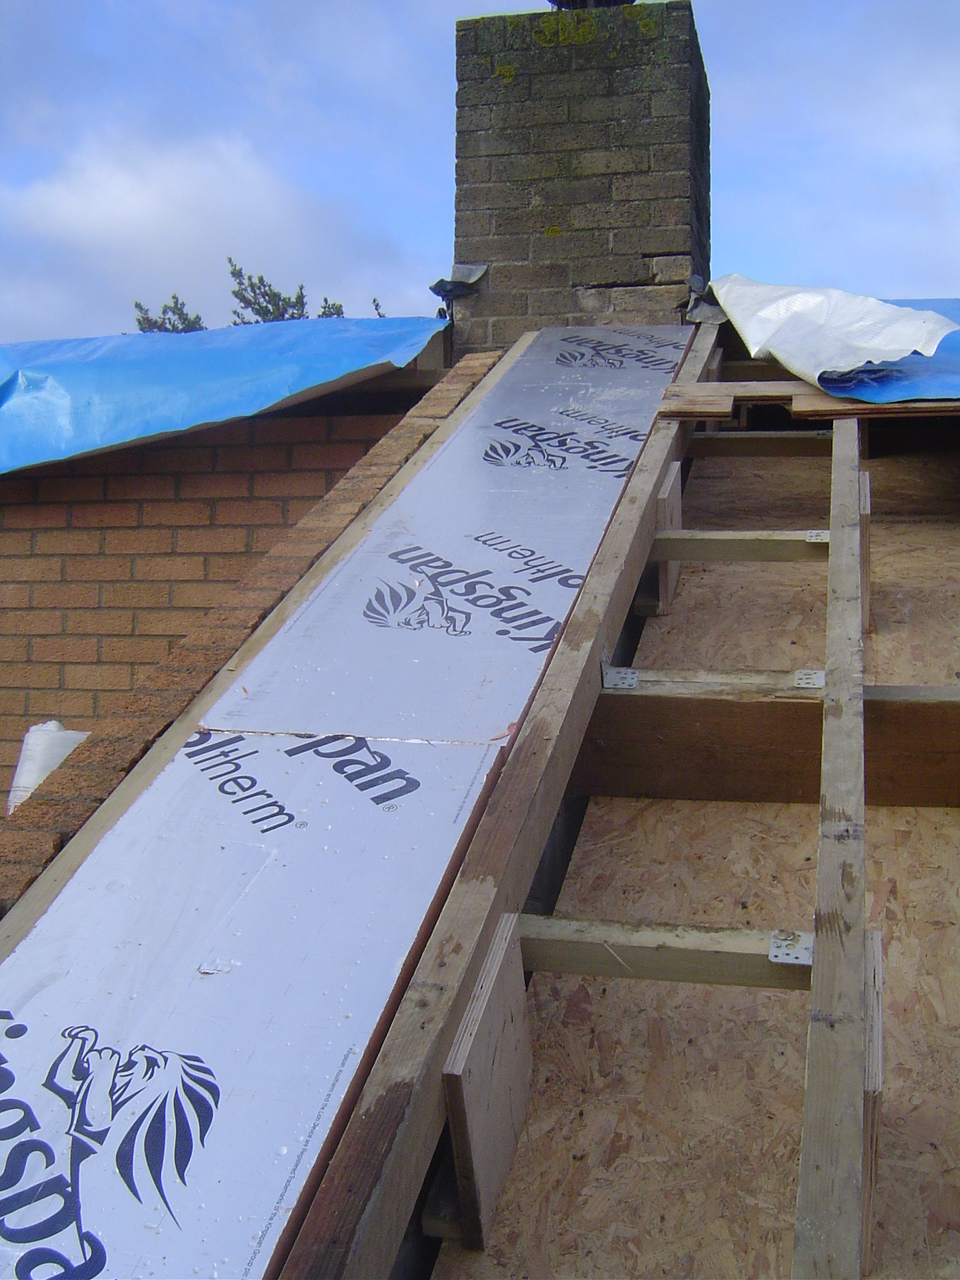
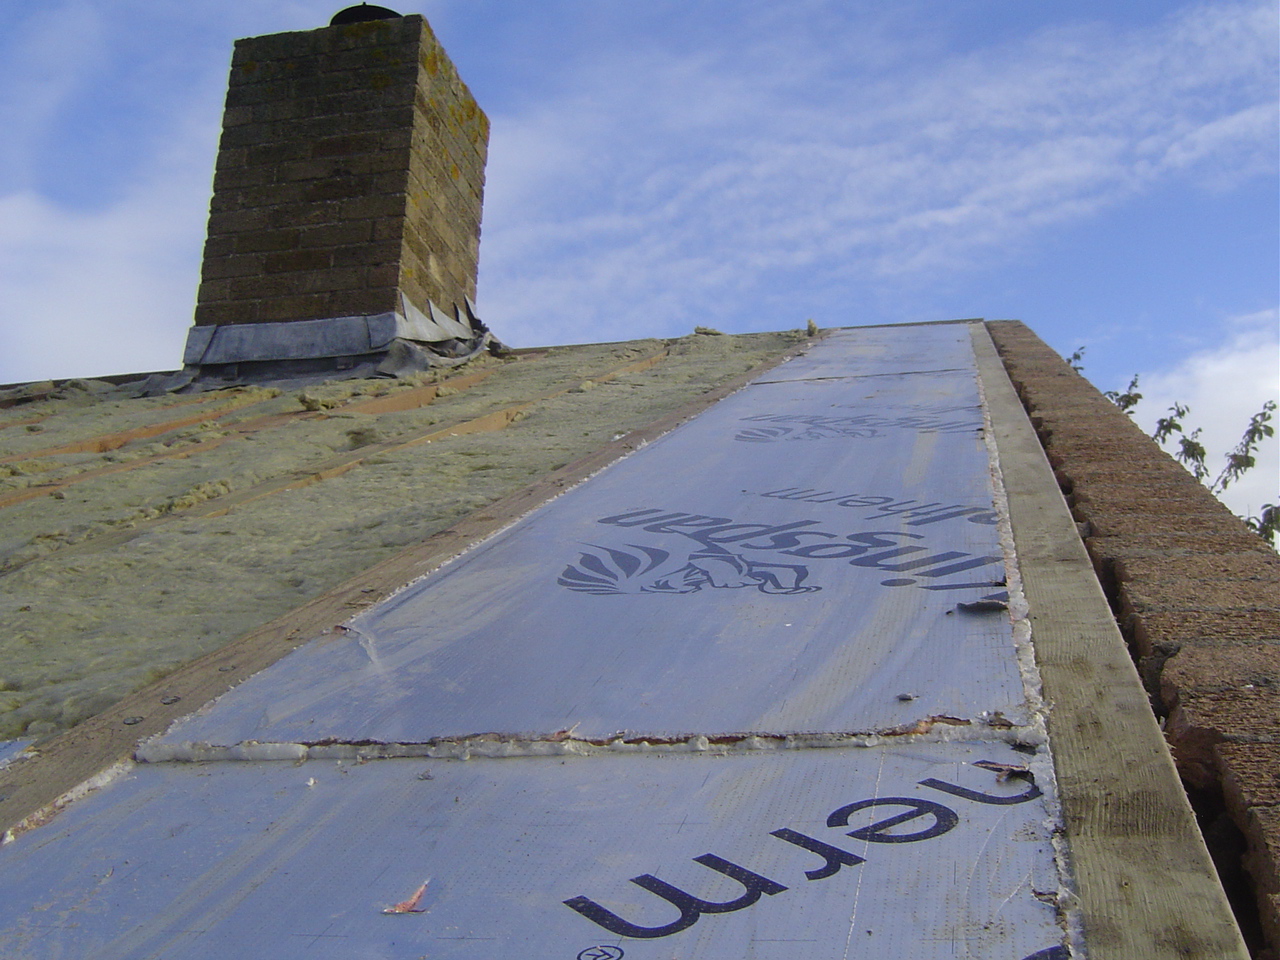
To reduce the cold bridging down through the original gable wall we again used Kingspan Kooltherm K7 board to cover over the top of the wall and in this case close the cavity.
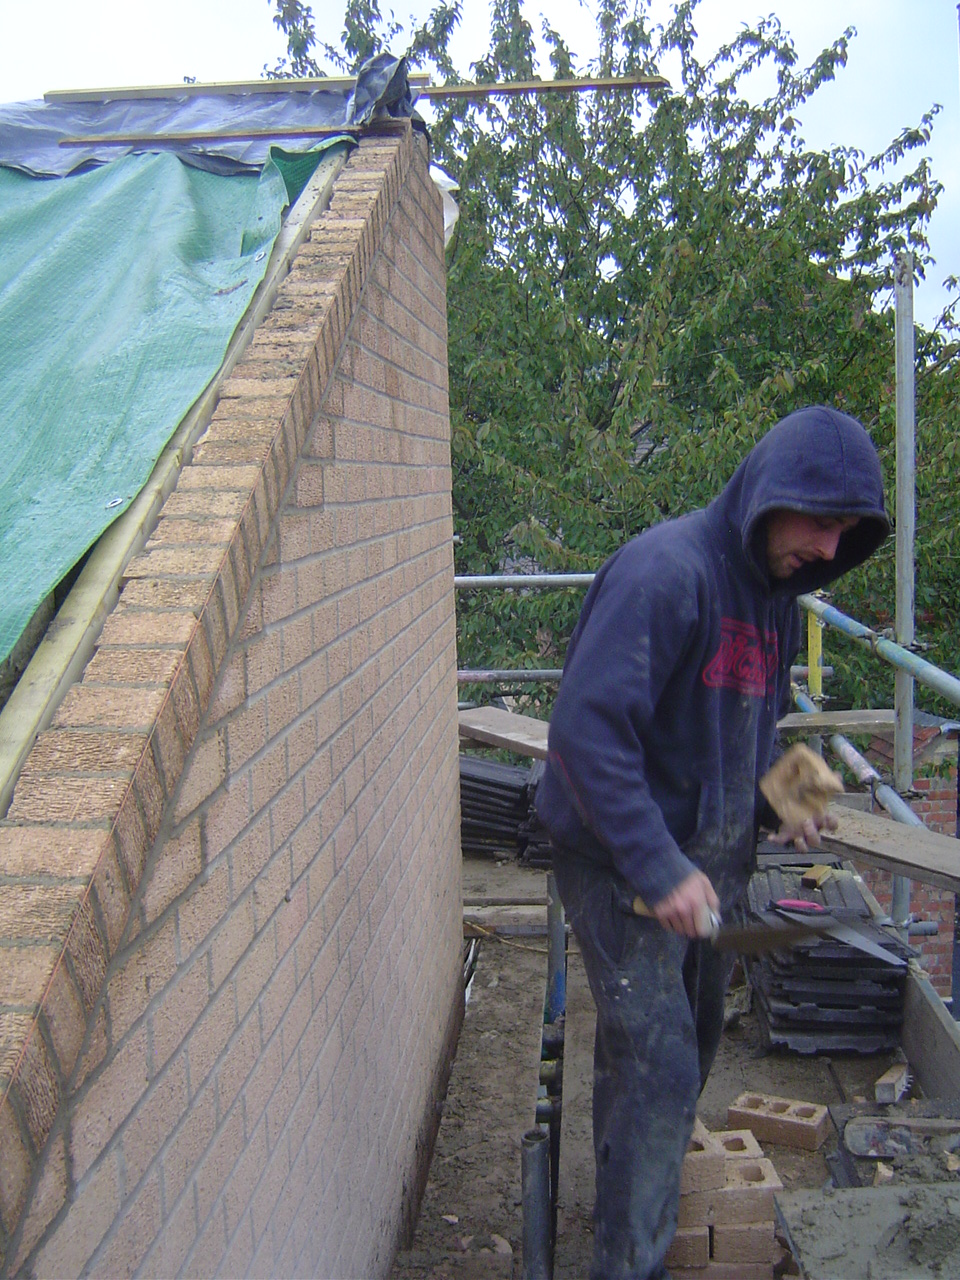
Our new super insulating walls were complete … well almost.