Before getting to work on the insulation for the floor there were various steps we needed to do first including; foundations for the column, drainage pipes, air supply pipes and damp proof membrane.
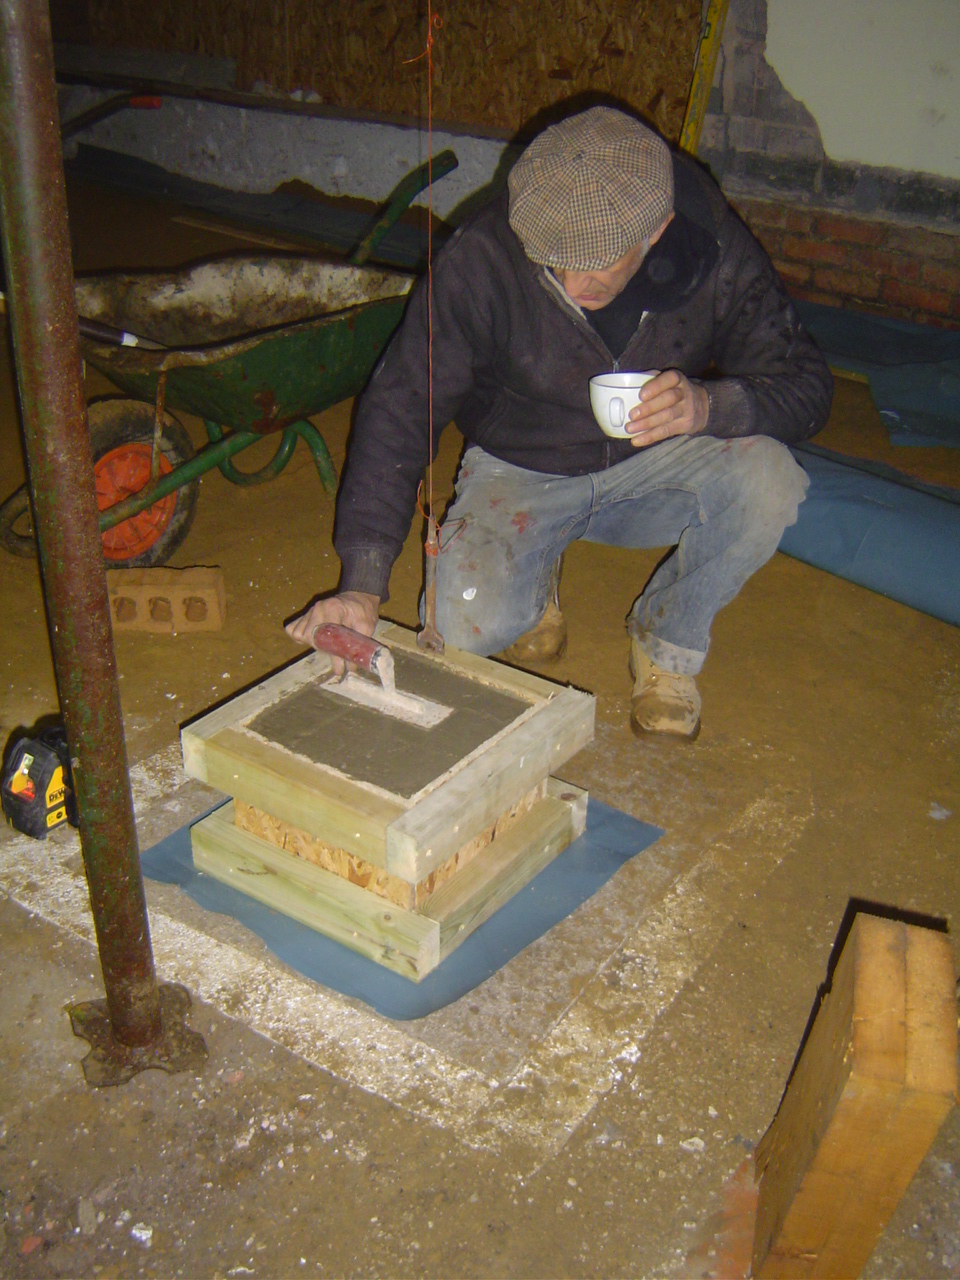
We dug a hole to pour a concrete foundation for the column to support the steel joists. To reduce the effect of the cold bridge passing up through the concrete we dug out enough soil to have space to insulate around the edge forming a mini-skirt to the foundation.
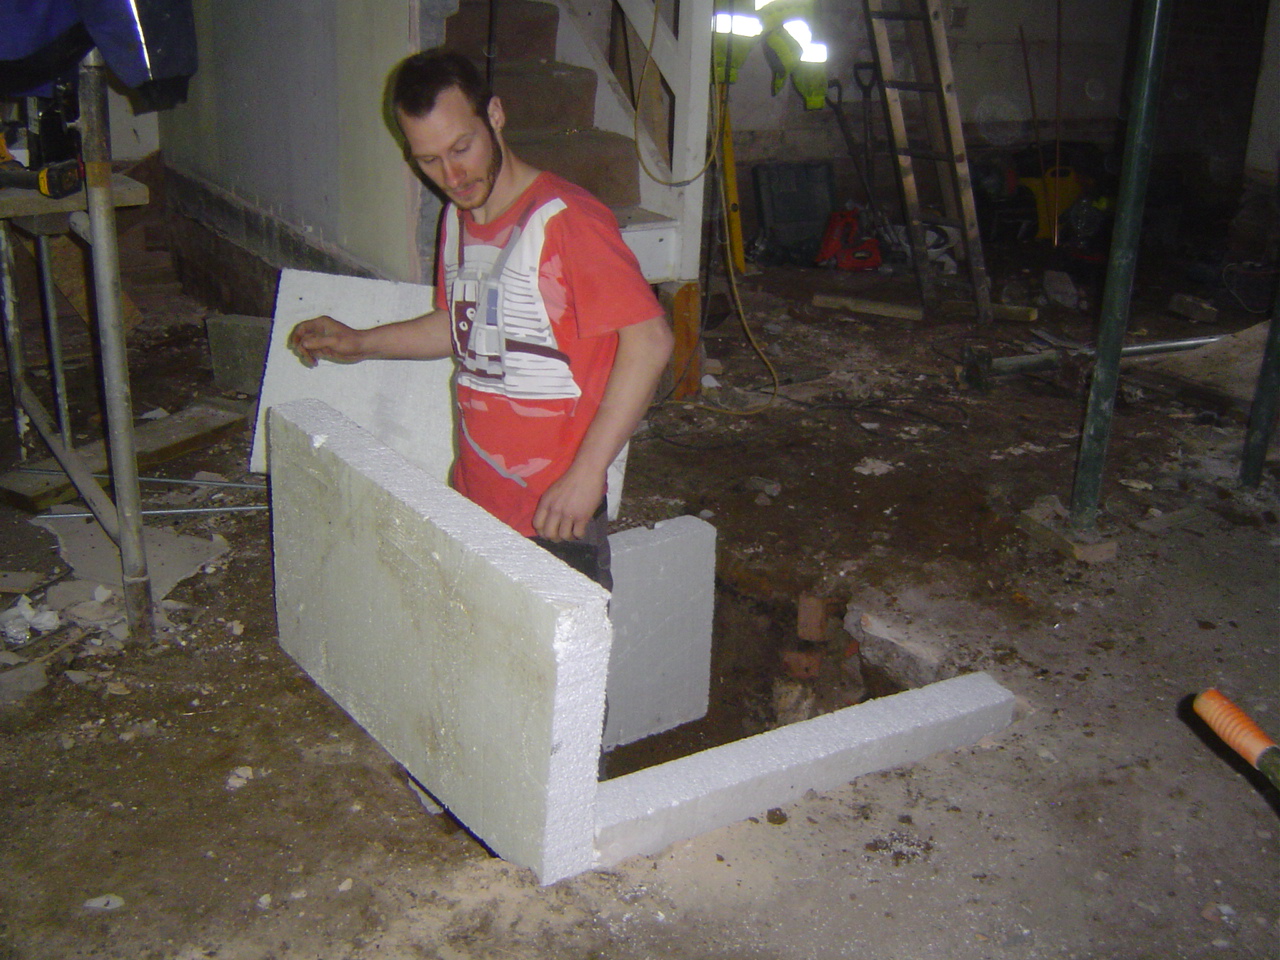
With the concrete foundation in place, we then cast a further concrete cube to sit within the insulation layer.
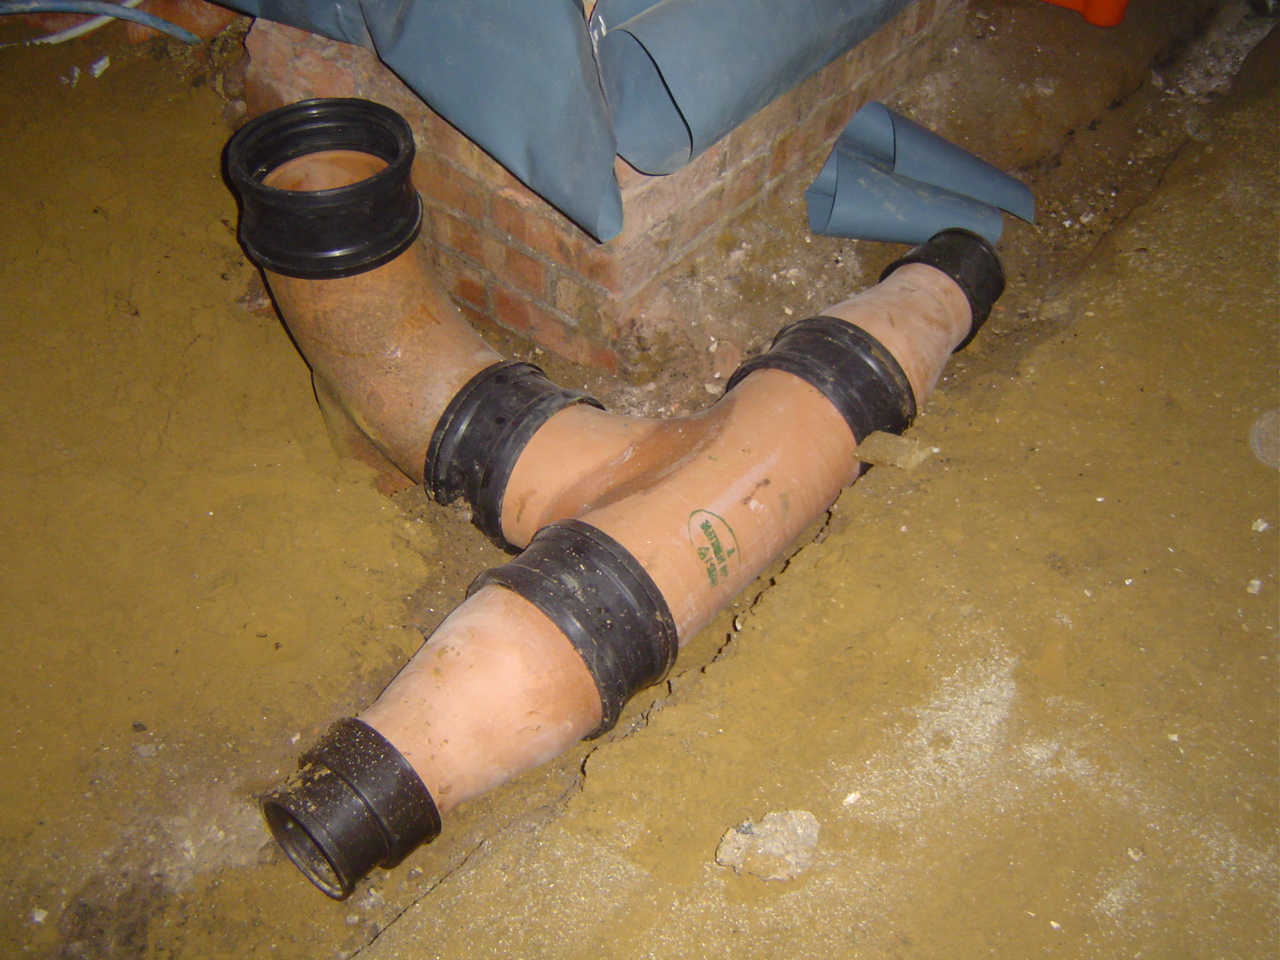
The drainage pipes were set out with the necessary fall.
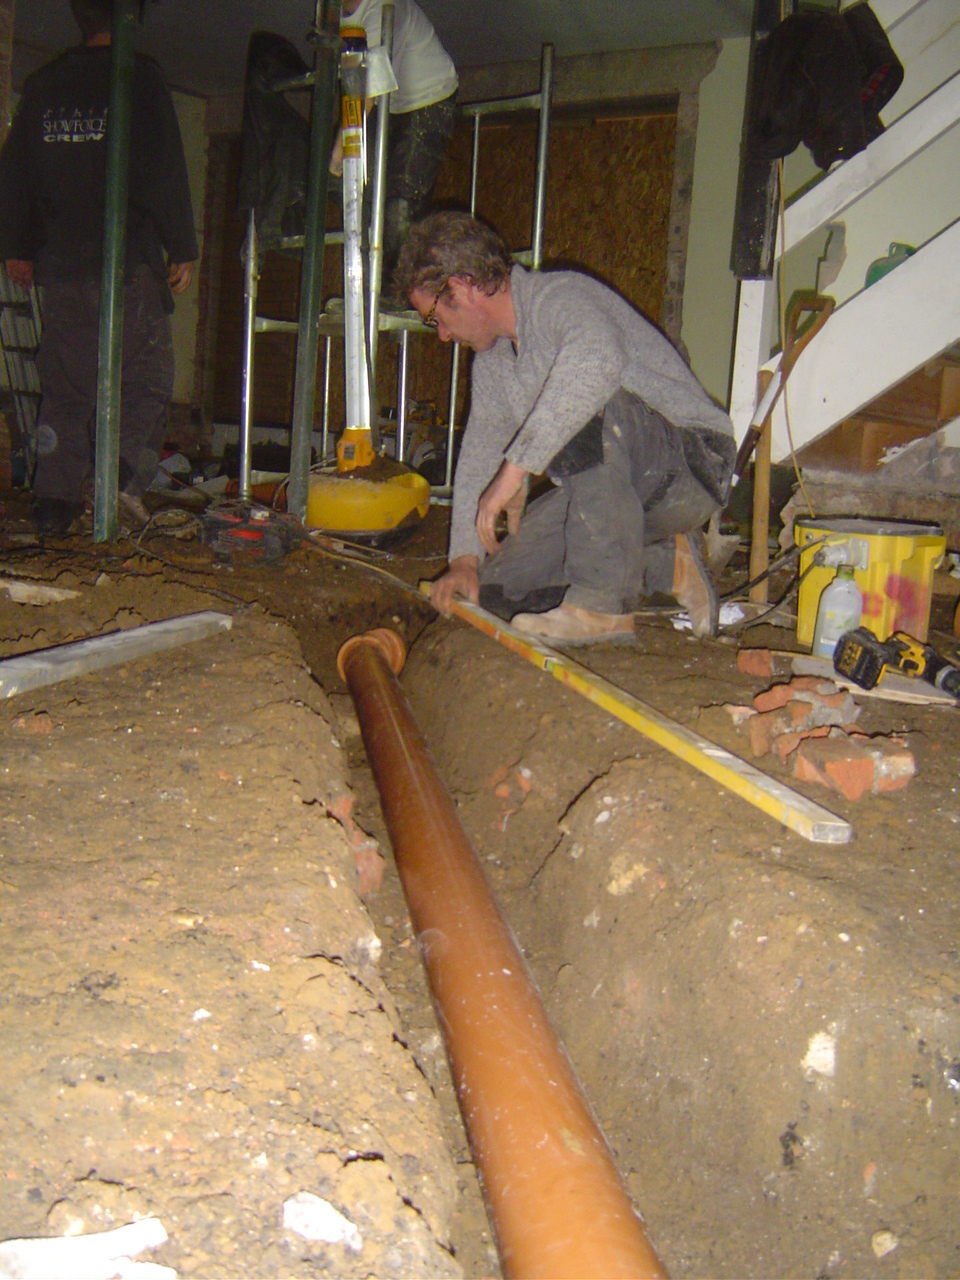
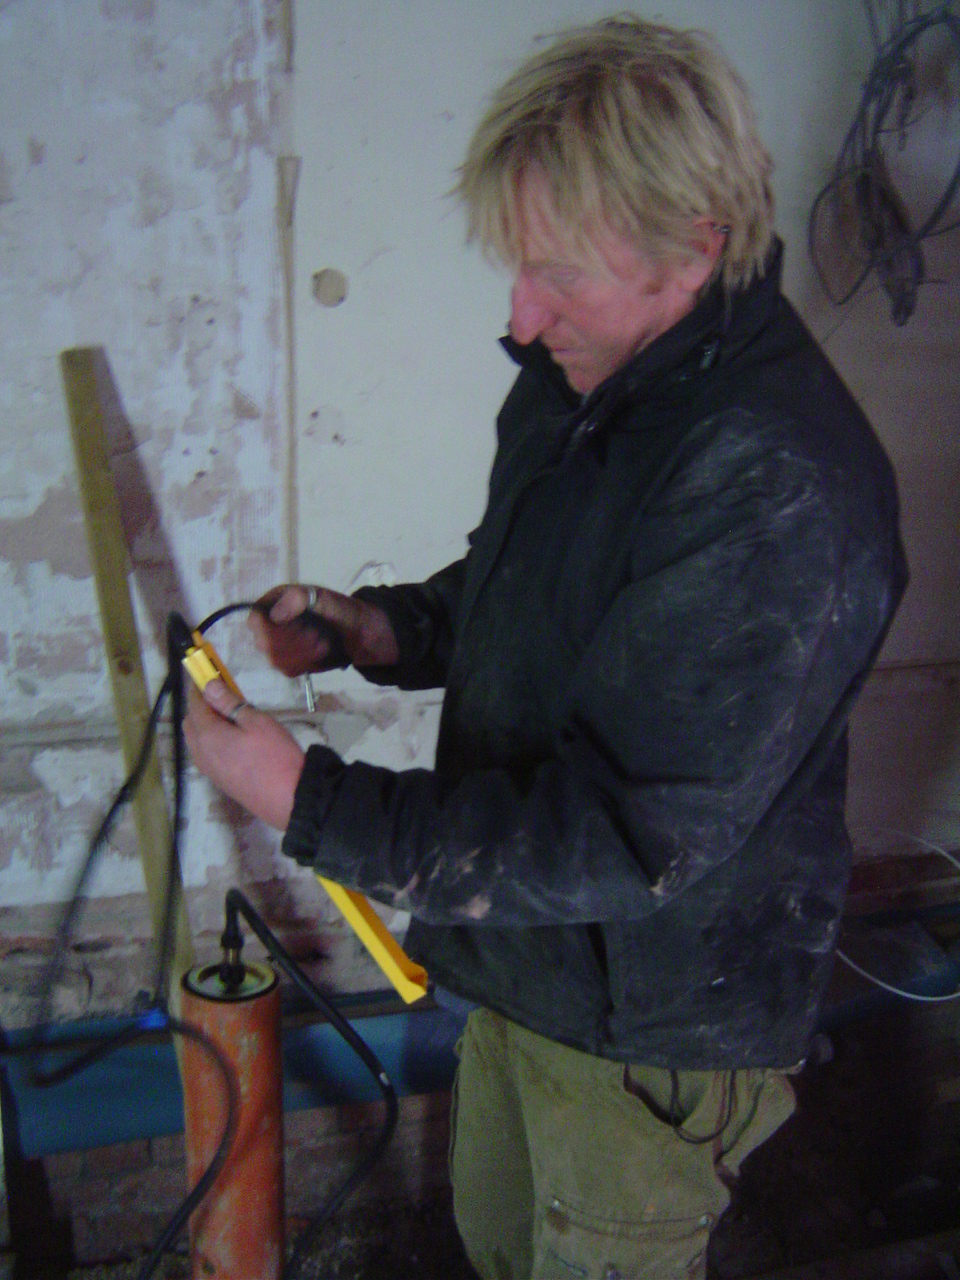
Mike tested the pipes to ensure there were no leaks.
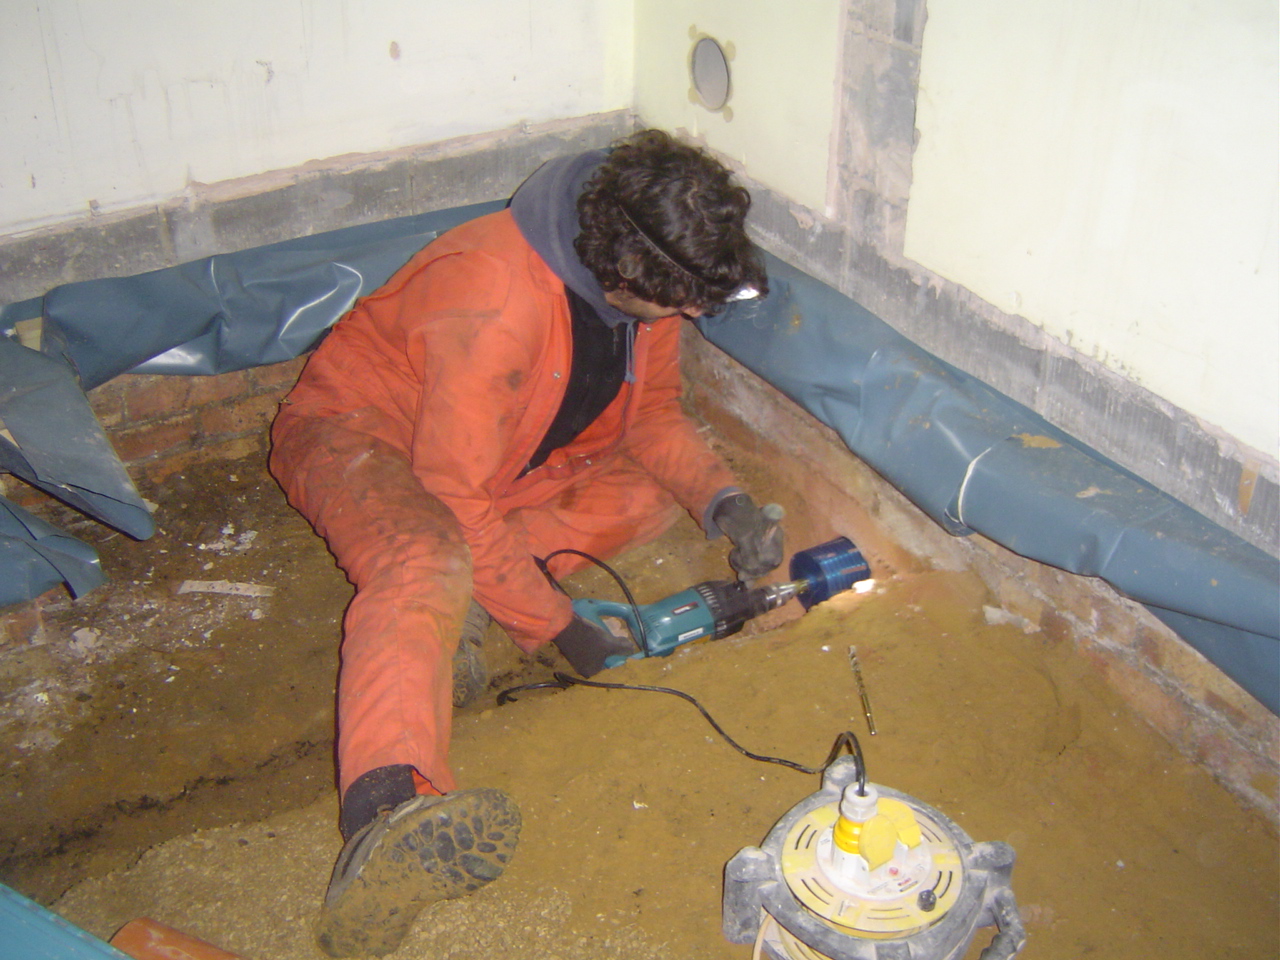
Stuart Major from R-ECO cut through the three layers of wall for the air supply pipe for the woodstove.
To reduce the risk of flue gases being sucked down the chimney we installed air supply pipes on two sides of the house meeting at a T piece just by the back of the wood stove.
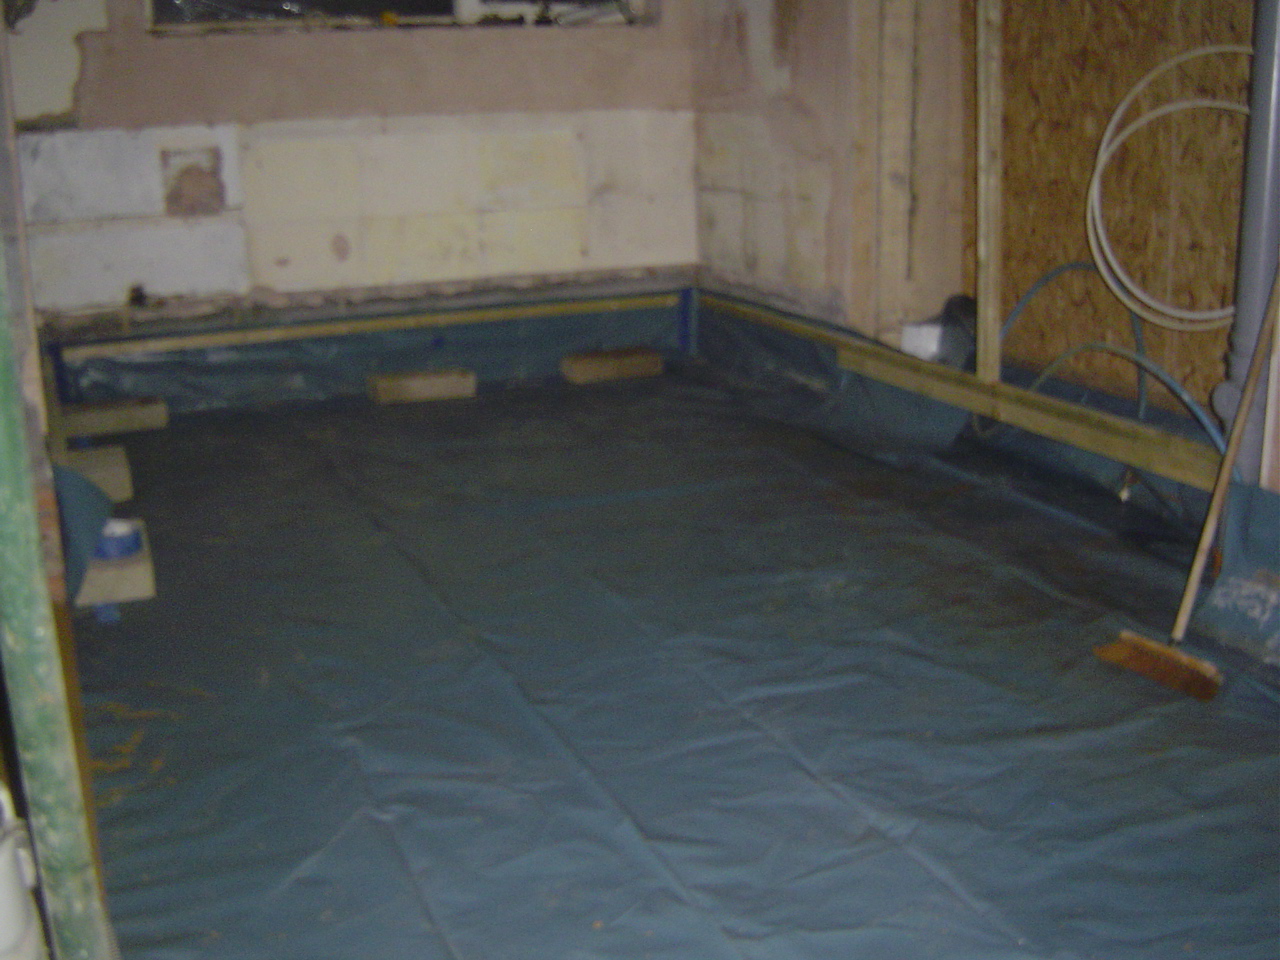
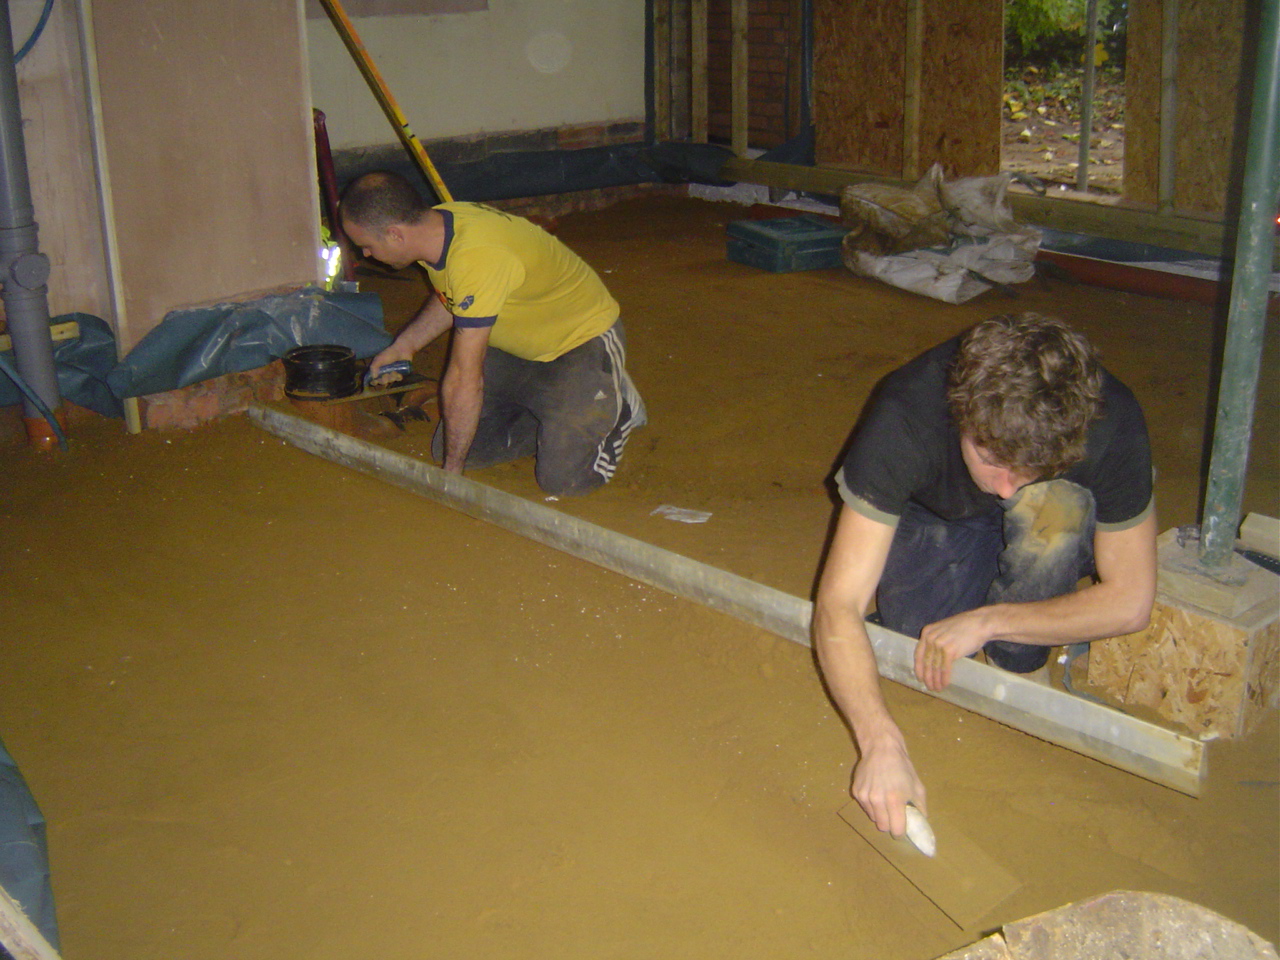
Sand was spread across the dirt to assist in levelling and reduce the risk of the Damp Proof Membrane (DPM) being punctured.
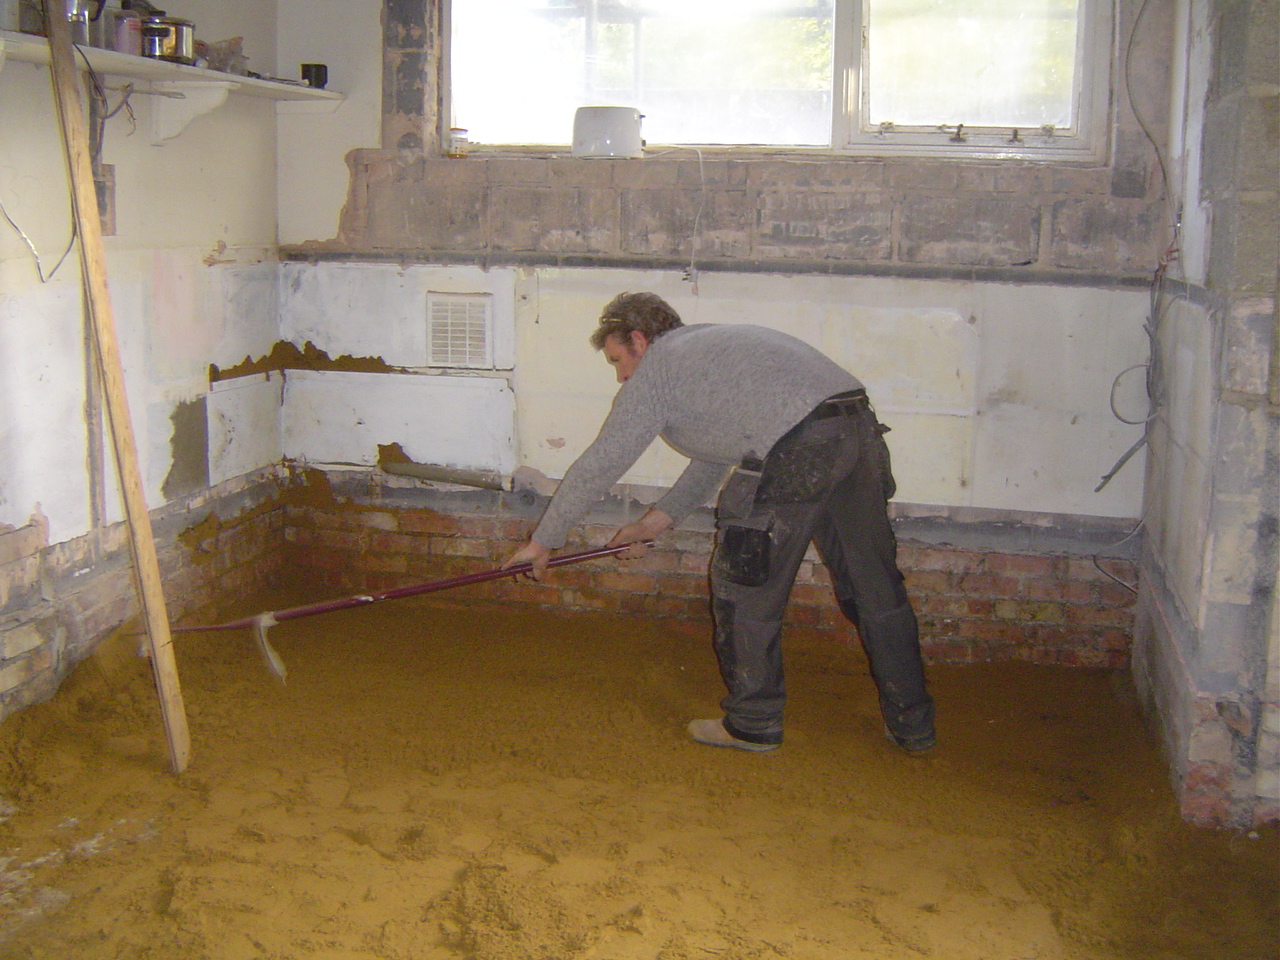
Levelling out the sand …
The DPM was taped at any penetrations for air tightness.
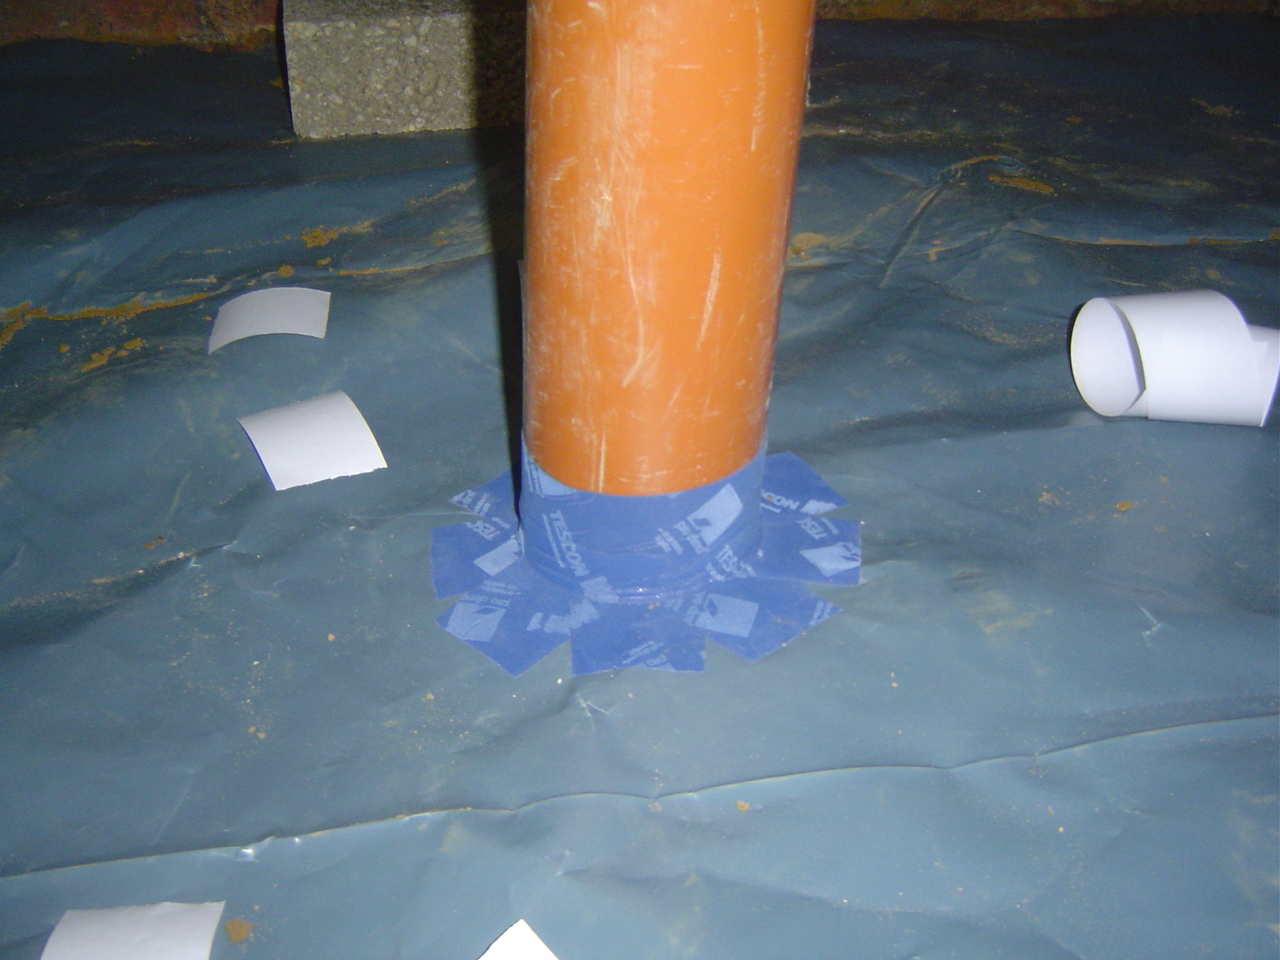
As a ‘belt and braces’ approach a bead of silicone was applied to any joints in the plastic.
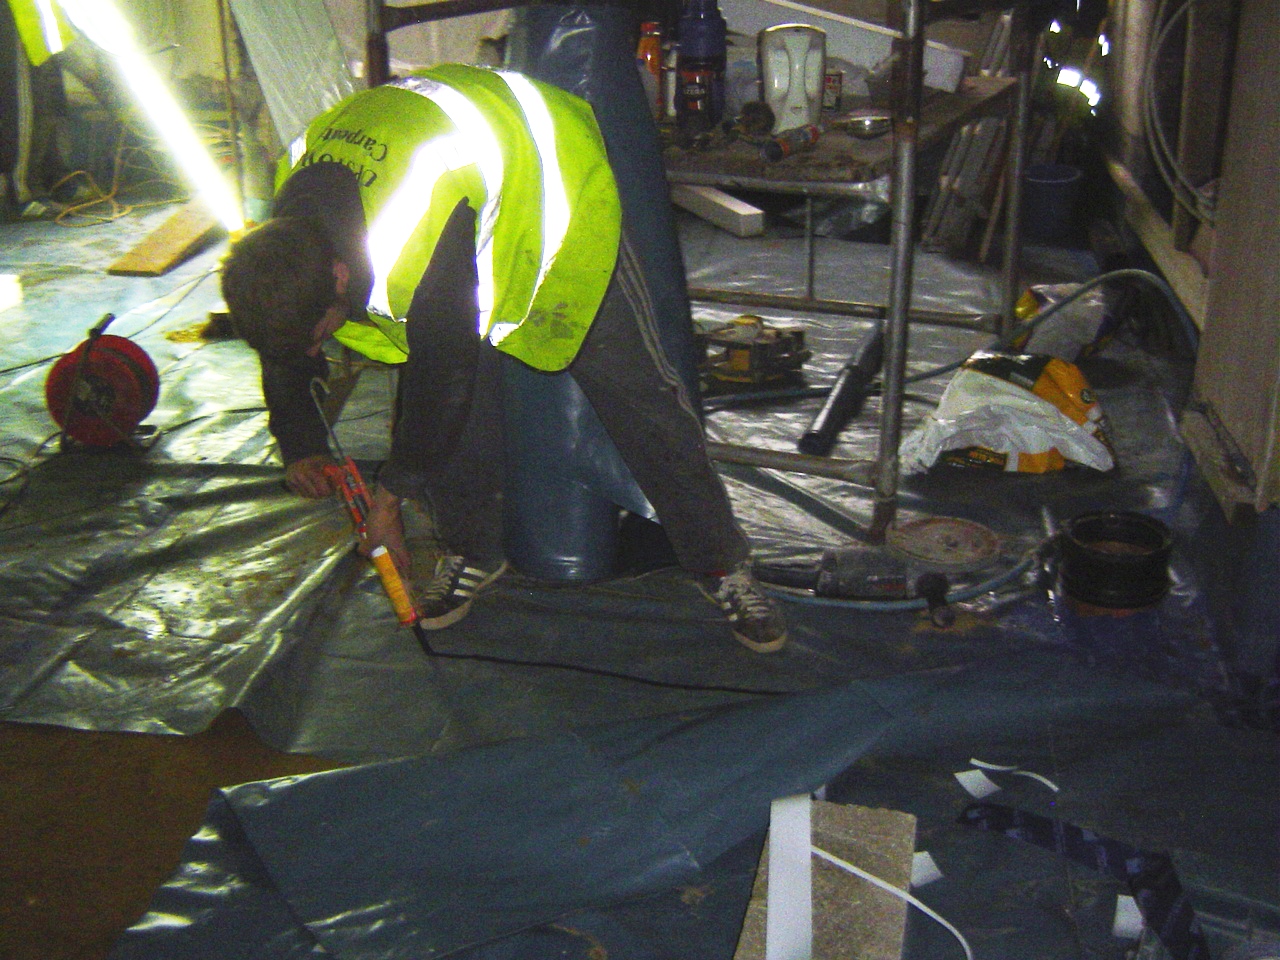
To ease installation separate pieces of plastic were used for the perimeter from the floor. These junctions had a bead of silicone and tape.

All the preparations complete ready for the insulation.